


(Anderson)
There are only a few things that have the power to improve your home’s first impression and its energy efficiency at the same time. One of the most obvious is prominently poised smack dab in front of your main entry door, often covering it. You probably walk through it several times a day.
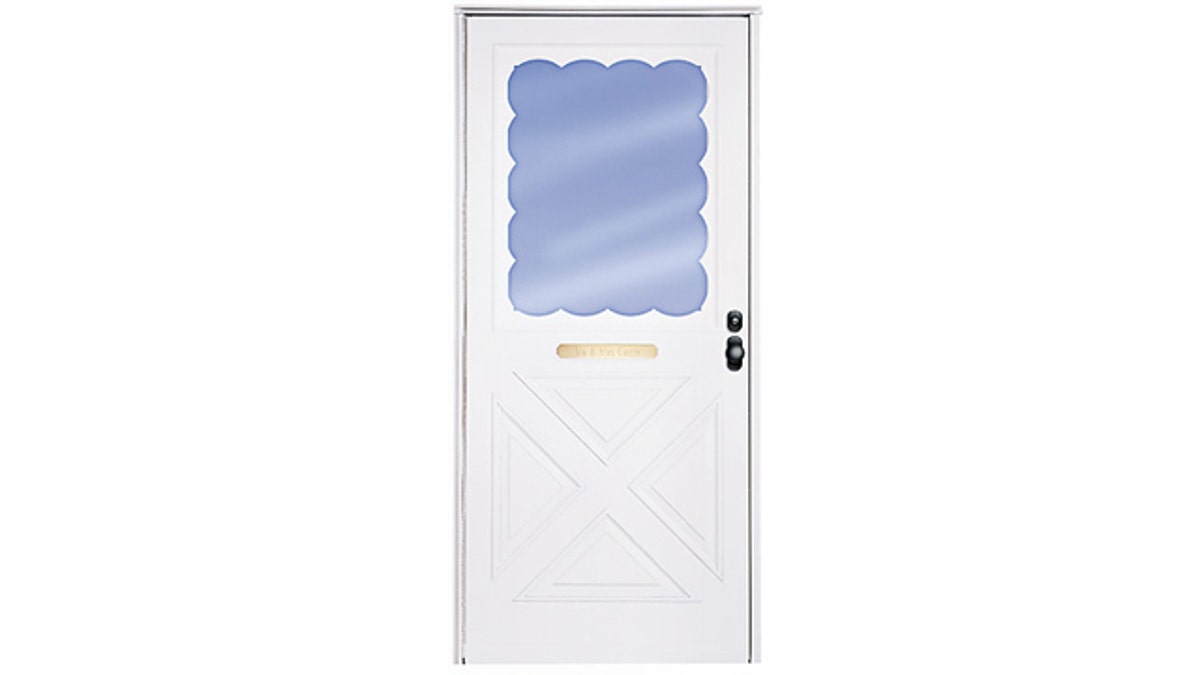
I’m talking about your storm doors. They play more of a role in your home’s look and energy efficiency than most of us realize. A nice full-view glass storm door at the entry can help show off that beautiful vintage front door while preventing drafts.
A broken storm door may simply become white noise in your life that you tune out and forget is an issue. That is, unless, this door slams shut when you let go of it, flies open in the slightest of breeze, or sticks and drags when you try to use it. This slamming and banging may be your only reminder that something needs to be done.
The first, and most economical, approach to solving problems with a storm door is to attempt a fix. When a storm door slams shut it is usually a problem with the hydraulic door closer. This tubular device attaches to the door frame and the storm door and is supposed to pull the door closed, without banging. Before replacing it, try adjusting the tension screw on the end of the hydraulic tube. If that doesn’t help, you may have to replace the hydraulic piece. This can be done for as little as fifteen dollars and is a piece of cake to do.
If the door constantly flies open on its own and slams against the house it’s usually a door latch issue. Sometimes the catch, found on the door frame, needs to be adjusted so the storm door’s latch can grab a hold of it properly. You’ll know this is an issue when the door keeps popping open at the slightest breeze. If an adjustment doesn’t work, it could be a broken latch. This too is an inexpensive fix, around ten bucks, and is very easy to do yourself.
If the door drags or sticks and is tough to open and close take a look at the door’s frame. The frame could be out of square. Storm door frames are made from aluminum and can be very thin. They bend easily and sometimes the screws holding the frame to the house come loose. Tightening up the screws in the frame may be all that is needed to fix a dragging door. If the screws can not be tightened it may be because they are not grabbing the wood they are set into. You can opt for longer screws, or try filling the holes with a wooden match stick prior to driving the screw back in.
Sometimes the thin metal of the storm door’s hinge or frame is bent beyond repair. It is hard to count the many different ways this could happen. A Chinese food take-out menu placed in the door could have prevented the latch from properly catching. When the door was grabbed by wind and slammed against the house it may have bent the hinges preventing the latch from ever properly catching again. This may be the time to pull out the wallet and spring for a new storm door.
Storm doors start at prices just under $100, but can cost a lot more than that. The more expensive ones are made from extruded aluminum and come with many great features. The most popular feature available today is the built-in or hide-away screen. Instead of fumbling with those awkward clips to pull out the glass panel put in a screen panel every time the season changes, you simply slide the glass down and the screen rolls out. Gone are the days of storing the glass panels and worrying if they will break.
There are a lot of options on the less expensive doors as well. Look at what is available before you buy and don’t make your selection based solely on price. A super inexpensive aluminum door will also be thin and won’t take heavy traffic well. Often the door has a wood core and a thin aluminum skin that can dent very easily. Plus, some doors are put together so cheaply they will rattle in the wind even if they fit correctly. Make the investment for a good quality door and you’ll find it will last longer and hold up to more abuse.
Storm doors also come in many styles and they can be special ordered in a wide range of custom colors. The choices are almost endless.
The big question is the installation. Big box retailers that sell the doors often have pros that can put them in for you for $100-$200. If your budget is limited, but you’re confident in your DIY skills, put the extra money into getting a better door and do the installation yourself. It is really not that difficult.
It can be done alone but I recommend having a second set of hands to help.
The first step is to remove the old storm door and inspect the opening where the new door will go. If you don’t have a storm door now, check that your existing door has a wood trim around it called a brick molding. This is where the storm door will be attached. If your door does not have one, or your door has a side light, you may have to “pack out” the door trim with pressure treated wood. In this case you may want to consider a pro.
Measure the height and width in three different places to find the smallest measurement. This measurement will help determine what size door to buy. To find the door width, measure at head, waist, and ankle height. For door height measure the opening in three different places.
Standard storm doors come in 36’’, 32’’, and 30’ widths and are 80’ inches in height. There is a little room for fudging if you have to, but not more than a half inch on either side. If you come up with a different number, you may have to custom order your door.
The basic steps for installation are straightforward. Each door comes with its own set of instructions, so sit for a few minutes and read them over. If you follow them carefully you should have no problems.
In a nutshell here is what you can expect if you’re installing the storm door yourself:
The storm door will come without the hinges or any door hardware attached. You’ll need to drill small holes into the aluminum for the hinge screws and, in some cases, holes for the door handle. You’ll also need to make a couple of small cuts of the aluminum side pieces with a hacksaw. Most avid do-it-yourselfers already have the tools in their arsenal to do this, if not the tools are worth the investment.
Along with the storm door slab you will find two side pieces, one for hinges and one for the door catch, and one top piece. The hinged piece will be attached to the storm door based on which way you want the door to open. Typically, the storm door handle is put on the same side as the entry door’s handle. Imagine yourself walking through the door carrying groceries and decide which way is best for you.
The top piece, called the drip cap, is put in first. I like to put a bead of caulk behind the top piece before installing it to help keep the water out. The top piece may need to be trimmed with the hacksaw depending on your door opening.
The hinged side piece, called the hinge z-bar, is attached to the door slab and it is cut to fit the door opening’s height. It is then screwed into place, door and all. The other side piece, for the catch, is also cut to length and then screwed into place.
Believe it or not, this completes the installation of the main pieces. All that is left is the door handle, the hydraulic door closer, and the bottom sweep. Installing these last few pieces can take more time than it took you to put in the door and side pieces. Don’t get frustrated, it requires a little patience.
The door handle will come with a paper template if you need to drill holes. Make sure you use it and follow the instructions carefully. You only get one shot at drilling the holes into the door.
For a total novice the whole project should only take one day, and a semi-handy homeowner can do it in a few hours.
Don’t let that old storm door slam and bang any longer. Its taking away from your home’s beauty and it’s a very easy fix.
Jason Gurskis is a licensed home improvement contractor based in Mystic Island, New Jersey dedicated to making homes more comfortable, durable, and energy efficient.