


how-to-insulate-attic
A house without enough insulation is like a kid without a coat—bound to get cold. So if you’re sick of drafts and high heating bills, it might be time to help your home “bundle up” by learning how to insulate an attic (or add more of the stuff to bulk up).
How much does it cost to insulate an attic?
On average, hiring a contractor to install insulation onto the floor of your attic will cost $1,343. On the bright side, you can expect a whopping return on this investment, because home buyers are willing to pay an average of $1,446 extra for your home if your attic is insulated.
In other words, you get back all that money (and then some) once you sell! If you want to save even more money, you can go the DIY route where you pay only for materials, which will cost around $580 for 500 square feet of space.
More From Realtor.com
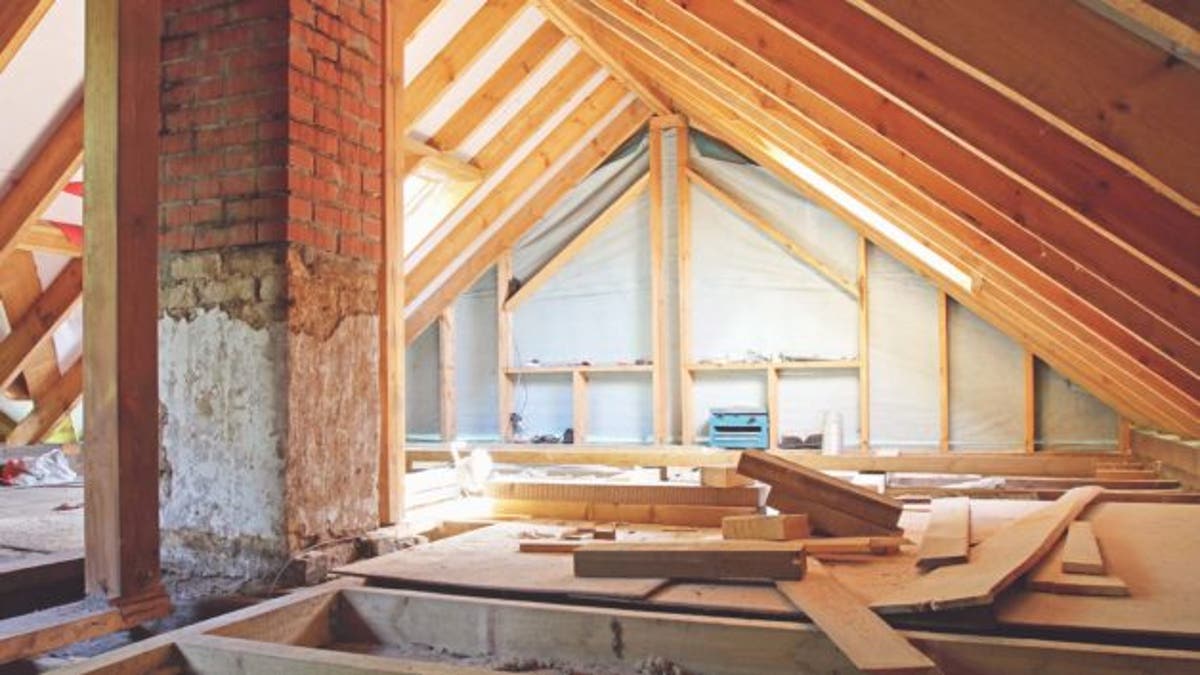
Note: If your attic already has a floor and walls, the process is more complicated (i.e., you’ll probably want to hire a pro to spray foam insulation underneath). But if your attic is unfinished, the easiest way to add insulation is to lay it on the floor between the joists that make up the wood framework of your house. Here’s how.
How much attic insulation do you need?
That depends on where you live. Colder areas require a higher R-values: the measure of the insulation’s ability to resist heat traveling through it. In cold climates, you’ll want a minimum of R-49; in temperate climates, R-38; in hot climates, R-30.
If you’re wondering about the recommended R-value for your region, take a look at Energy Star’s guidelines by zone.
Once you know the R-value, you just measure the length and width of your attic to determine how many square feet of insulation you should buy.
Protective gear to get
Make sure you’re protecting yourself properly, because insulation can be itchy and you don’t want to breathe in these tiny particles. So invest in the following:
Step No. 1: Seal cracks first
Before you begin, you’ll want to make sure you’ve sealed any gaps or openings that are allowing heat (or air conditioning) to escape. Silicone caulk works well when it comes to stopping air leaks around cutouts, such as electrical boxes. Metal flashing and high-temperature silicone caulk can be used when filling gaps around flues or chimneys. Here’s more on how to caulk.
Step No. 2: Pick which type of insulation is best
There are two main types of insulation, each with their particular pros and cons depending on your attic.
Fiberglass batts: This blanket-style or roll-on form of insulation is the simplest to work with, says Steve Cederquist, contractor for the HGTV Show “Flip or Flop.”
Sold in 15- or 23-inch widths, they’re designed to fit easily within most typical joists. If your home has some insulation but not quite enough, batts can be rolled out over existing insulation.
When laying down your insulation, cut to size as necessary—and be sure to start at the perimeter, then work your way toward the exit so you don’t insulate yourself into a corner.
YouTube/OwensCorning
Loose-fill insulation: This insulation requires a machine that blows a stream of fiberglass or cellulose over the existing attic floor framing. It’s typically installed by a contractor, but you can also rent a blower from a home repair store.
One benefit is this insulation fills in tiny gaps and hard-to-reach spaces; it’s also a winner in attics where headroom is limited and rolling batts would be impossible.
YouTube/MonkeySee
Step No. 3: Keep soffits clear
While insulation should extend all the way to the exterior wall, take care to not block the soffits. These are openings under the edges of your roof that help ventilate a home. To keep these openings clear, you can install baffles, which keep the insulation from expanding into these areas.
YouTube/OwensCorning
Step No. 4: Watch out around lights
If you’re installing insulation near recessed lights, you’ll want to use sheet metal or wire mesh to create a barrier around these fixtures. If insulation comes in contact with lights, it can cause a fire, unless the insulation is marked “insulation contact” or “IC,” which means no barrier is necessary.
YouTube/OwensCorning
The post How to Insulate an Attic and Slash Your Heating Bill to Boot appeared first on Real Estate News & Advice | realtor.com®.