


There are many reasons to replace your old toilet for a nice new shiny one. Whether the old throne is 1970’s avocado green and doesn't match your new décor, or it is cracked and has nasty water stains, it may be time to change the most coveted seat in the house.
This home improvement project may seem extremely scary for a do-it-yourself project, not just because of what goes through the toilet but because it’s inner workings can appear to be mysterious. The truth is, replacing a toilet can be successfully completed by just about anyone in only a few hours.
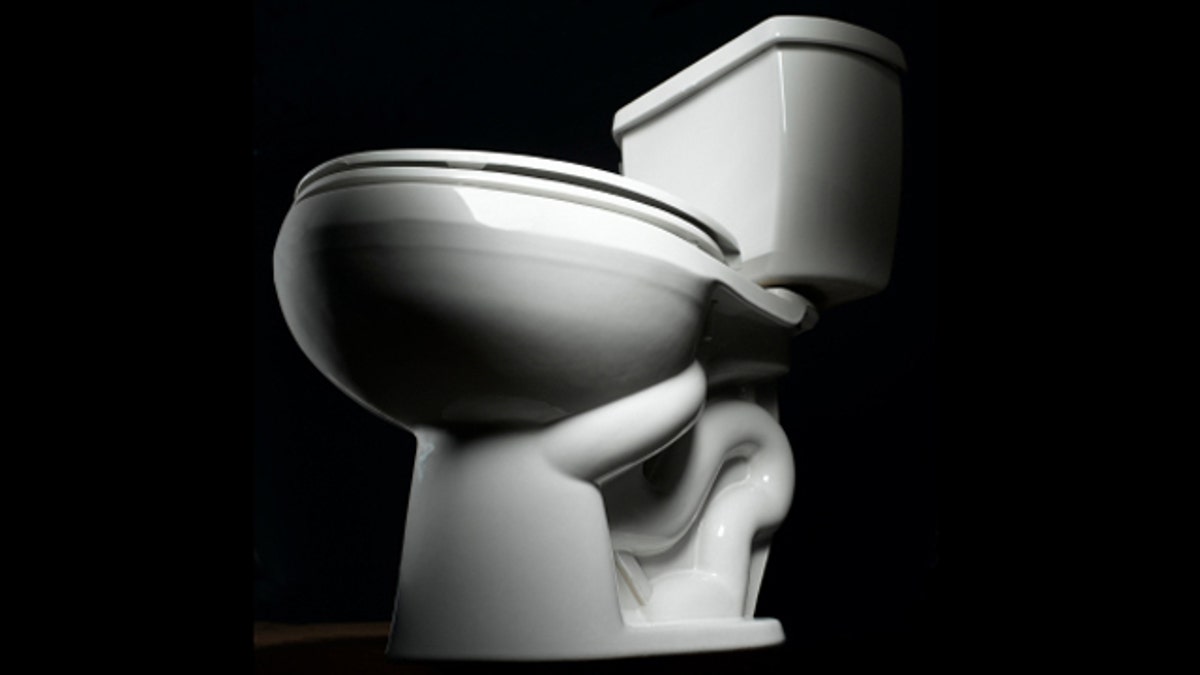
In fact, one of the most challenging parts of the job is simply picking the right bowl for you and your family. Manufacturers offer a wide range of styles, colors, and sizes. Take as much time when choosing a new toilet as you would when purchasing a new recliner. Don’t overlook comfort.
This is a process of elimination.
Toilets come in two different seat heights. If you have back problems or are tall consider a chair height toilet which comes in sixteen and seventeen-inch versions. If the bathroom will be used by children or shorter family members consider standard bowl at fourteen to fifteen inches.
The shape of the bowl is important as well. Even though a round toilet may fit better in a smaller bathroom because the length of the seat is shorter, an elongated bowl (oval) will give you a little more seating room which will be a lot more comfortable.
Color choice is, of course, subjective. If you plan on selling your house in the near future a white bowl is typically better for resale. Since the toilet is not something you change as frequently as you may change the paint color in the bathroom, you’ll be looking at and sitting on that bowl for a long time. If you decide to go with that new hip and stylish color remember that avocado green bowl was once hip and stylish too.
You can express your “green” side when buying your toilet in a different way. New toilets use no more than 1.6 gallons of water per flush as opposed to the old bowls that throw 3.5 gallons down the drain with each flush. You’ll be saving a great deal of water with your new toilet. If that is not enough, you can spring for a new low-flow toilet with the Environmental Protection Agency’s “WaterSense” label on it that only uses 1.28 gallons per flush. Another efficient toilet is one with a dual-flush feature which lets you use less water for liquid waste than it does for solid waste. Dual-flush toilets are more expensive but a nice shade of “green.”
Two-piece toilets are the most common type that you’ll find, and the least expensive. One-piece units look sleek and stylish and cost a whole lot more. The one piece is just that, the tank and seat are made as one. Both are easy to install, but the two piece is the standard and replacement parts are easier to find.
Most home improvement stores sell toilets in complete kits. These kits include the toilet and all the parts you will need for the installation. Unless you’ve done this many times before, be sure you buy an all in one kit. Otherwise you will find yourself running back to the store for a piece you didn’t know you needed.
You will also need a small roll of Teflon tape if your kit didn’t include it. I also suggest purchasing an additional wax ring with a rubber flange on it which costs less than five dollars. The ones that come with most of these kits are a little flimsy.
You won’t need any special tools, just an adjustable wrench, putty knife, old sponge, channel pliers, utility knife, and a screw driver.
To remove the old toilet, shut off the water using the valve behind the bowl. Flush the toilet to remove the water in the tank. No matter how hard you try you’ll never flush all the water out, so grab a sponge and sop up any remaining water. Disconnect the supply hose, but remember that there will be some water in the hose so lay down a towel to catch it. Look at where the bowl meets the floor - often times there will be a bead of caulk. If there is, lightly score the caulk with a utility knife so that when you tug on the bowl to pull it up, no flooring will pull up with it.
Remove the nuts from the bolts sticking up through the base of the toilet. The toilet is now free and almost ready to be lifted out of place. The toilet may still have some water in it, and there will be a waxy mess on the bottom of it, so lay out a drop cloth or old towel so you have a place to put the toilet without making a mess. Lift the out the toilet.
Remove the bolts from the flange in the floor. Using the putty knife and an old rag remove all of the old wax on the flange.
Unpack the new toilet from the kit and lay out all the pieces. There will be two new bolts with flat heads that you will slide into the flange on the floor. These are the bolts that stick up through the base of the toilet.
Open up the new wax ring you bought separately and turn the base of the toilet over. Remove the plastic cover from the wax ring and set it on the opening on the bottom of the toilet. The rubber flange on the wax ring should stick up, as this will be set into the flange on the floor.
Grab the toilet and set it into place using the bolts as your guide. Press and wiggle the bowl down to compress the wax seal and make the toilet sit flush on the floor. You may even want to sit on the bowl for a little pressure. After, place the nuts and washers on the bolts and tighten them down. Don’t over tighten the bolts because you can crack the toilet or worse, the flange in the floor.
Pour some water into the bowl to check for leaks.
Now you’ll attach the tank to the base. Turn the tank over and place the rubber gasket on the opening, it may be tight and you may have to work it a little. Turn the tank over and insert the bolts and washers into holes in the base of the tank. Using the bolts as your guide set the tank on to the base. Place the nuts and washers on the bolts by reaching underneath the base. You may need a second set of hands here because you will need to hold the bolts from spinning as you tighten the nuts below. I’ve done it alone, but it takes a little bit of patience and a few yoga poses to reach both at the same time.
Tighten the bolts down just enough to keep the tank from leaning against the wall and without any rocking. Don’t over tighten them because you can crack the toilet.
The toilet seat is attached to the bowl with two screws, usually made of plastic. Once again you’ll have to hold the top from spinning as you tighten from the bottom.
The last step is hooking up the water line. Place a little Teflon tape on the threaded parts where the hose is attached. Tighten the hose and turn on the water. As the tank fills, check for leaks.
The final step is to grab the newspaper and give it a test run.
Jason Gurskis is a licensed home improvement contractor based in Mystic Island, New Jersey dedicated to making homes more comfortable, durable, and energy efficient.