


Fox News Flash top headlines for January 21
Fox News Flash top headlines are here. Check out what's clicking on Foxnews.com.
In the pursuit of radiant and smooth skin, dermaplaning has emerged as a popular skin care technique.
This non-invasive exfoliation method involves using a sterile surgical blade to gently scrape away the top layer of dead skin cells and fine facial hair, leaving behind a rejuvenated complexion.
While professional dermaplaning is available, many individuals are now exploring the possibility of doing it themselves at home.
SKIN CARE SECRETS: DERMATOLOGIST REVEALS BEST WAYS TO KEEP SKIN LOOKING AGELESS
A Florida dermatologist shared a guide to understand what dermaplaning is — and how to master the art of doing it in your own home.
- Understanding dermaplaning: What is it and why?
- DIY dermaplaning: Step-by-step guide
1. What is dermaplaning and why do people do it?
Dermatologist Dr. Eric Wilkerson of Florida told Fox News Digital that the process of dermaplaning exfoliates and eliminates vellus hair, commonly known as "peach fuzz," which leaves a smoother skin texture and enhances the effectiveness of skin care products.
"Dermaplaning is generally suitable for all skin types, but caution is advised, especially for individuals prone to pigmentation issues. Aggressive or deep treatments can increase the risk of side effects," said Wilkerson.
This skin care treatment leads to texture improvement, delicately eliminating fine facial hair to create a smoother skin surface.
The combined removal of dead cells and peach fuzz allows the absorption of skincare products, which leads to a brighter skin tone.
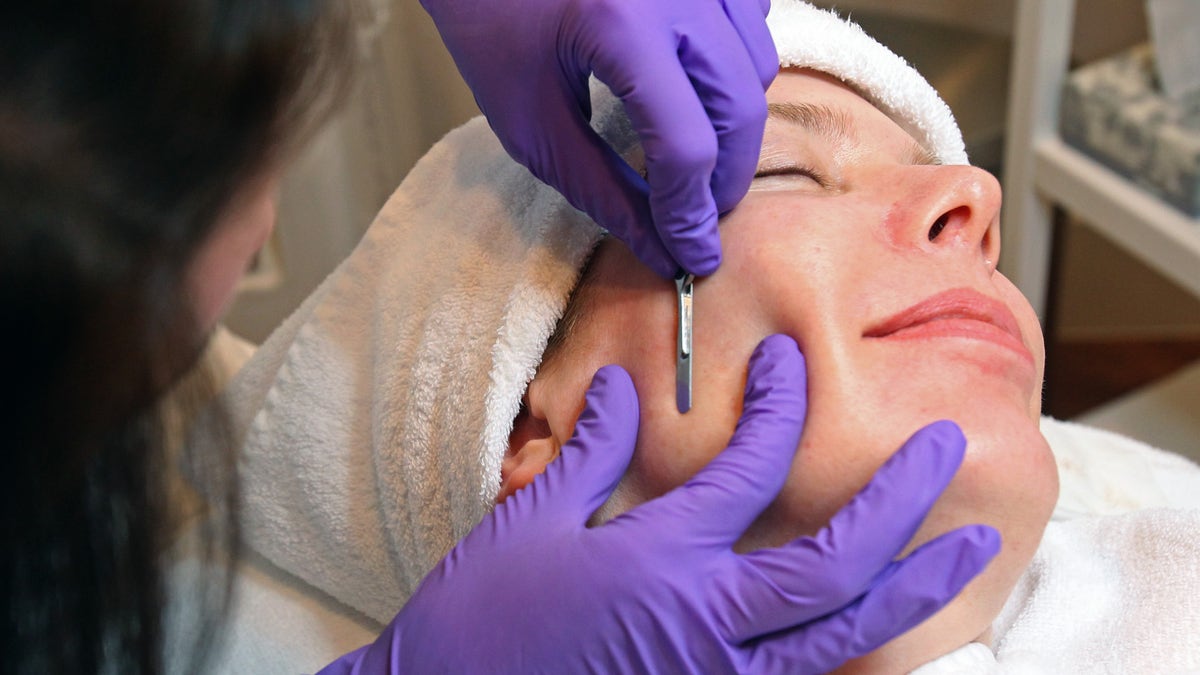
A trained skin care professional does dermaplaning on a woman during her facial at Julie Michaud Prettyology in Boston on July 2, 2013. (John Wilcox/MediaNews Group/Boston Herald via Getty Images)
2. Step-by-step guide to DIY dermaplaning
While professional dermaplaning is carried out by trained aestheticians, doing it yourself at home is feasible with the right tools and precautions.
- Gather supplies
- Prepare skin
- Hold the blade
- Stretch your skin
- Begin dermaplaning
- Care for your skin post-dermaplaning
EXPERT TIPS TO REVIVE DRY SKIN DURING THE WINER AND GLOW ALL SEASON LONG
1. Gather supplies
- Sterile dermaplaning blade
- Gentle cleanser
- Towel
- Hydrating toner
- Moisturizer
- Sunscreen
2. Prepare skin
Begin with clean, dry skin — providing a clear canvas for the dermaplaning procedure.
"Before dermaplaning, it is crucial to use a gentle skin cleanser. This helps ensure that the skin is thoroughly cleansed and free from any impurities or makeup," said Wilkerson.
To maintain a hassle-free experience, tie back your hair, keeping it away from your face to avoid interference during the session.
Also, make sure the room is well-lit, creating an environment for accuracy throughout the dermaplaning process.
3. Hold the blade
Choosing a blade that follows strict hygiene standards helps minimize the risk of infections or irritations. It's known that you will get the best results when you hold the blade 45 degrees to the surface you're working on.
"This angle allows for a gentle and controlled gliding motion, making sure you remove dead skin cells and hair without causing discomfort or harm to your skin," said Wilkerson.
4. Stretch your skin
Use your free hand to gently stretch the skin taut, creating a smoother glide for the dermaplaning blade. This gives you a more controlled motion across the contours of your face.
By taking this step, you not only enhance the removal of dead skin cells and facial hair, but also contribute to a safer and more comfortable dermaplaning experience.
CLICK HERE TO SIGN UP FOR OUR LIFESTYLE NEWSLETTER
5. Begin dermaplaning
Guide the blade in a downward motion using short, gentle strokes, aligning with the natural contours of your face.
Exercise caution by avoiding the sensitive areas around your eyes and nostrils. It's also advisable to steer clear of any regions with active acne or irritated skin, minimizing potential discomfort.
"Every procedure carries potential risks or side effects," said Wilkerson. "Going too deep during dermaplaning may result in cuts, abrasions, scarring or infection, especially if the blade isn't sterile or the skin isn't adequately cleansed."
6. Care for your skin post-dermaplaning
After you've completed the dermaplaning session, it's important to focus on post-care to optimize results and maintain skin health.
Start by cleansing your face again to remove any remaining debris, ensuring a clean canvas. Follow this with a hydrating toner to soothe the skin and restore its balance. Then, generously moisturize to provide essential nourishment. Due to the heightened sensitivity post-dermaplaning, finish the routine by applying a broad-spectrum sunscreen, protecting your skin from potential sun damage.
"When opting for a skin treatment like dermaplaning, it's advisable to steer clear of retinol and retinoid products, as they may cause irritation. Avoid exfoliators as well. Stick to a gentle skin cleanser and prioritize hydration post-dermaplaning," recommended Wilkerson.
CLICK HERE TO GET THE FOX NEWS APP
Remember to limit dermaplaning to once a month to prevent over-exfoliation and support a healthy skin renewal cycle.
"Dermaplaning can yield a smoother texture and enhance the overall glow of the skin. While improvements in lines, wrinkles and scars may not be significant, the enhancement in glow and texture varies from person to person and depends on the frequency of treatments," explained Dr. Wilkerson.
Understanding the process, practicing caution and following a meticulous step-by-step approach will help you achieve that smooth and radiant complexion in the comfort of your own home.
For more Lifestyle articles, visit www.foxnews.com/lifestyle.