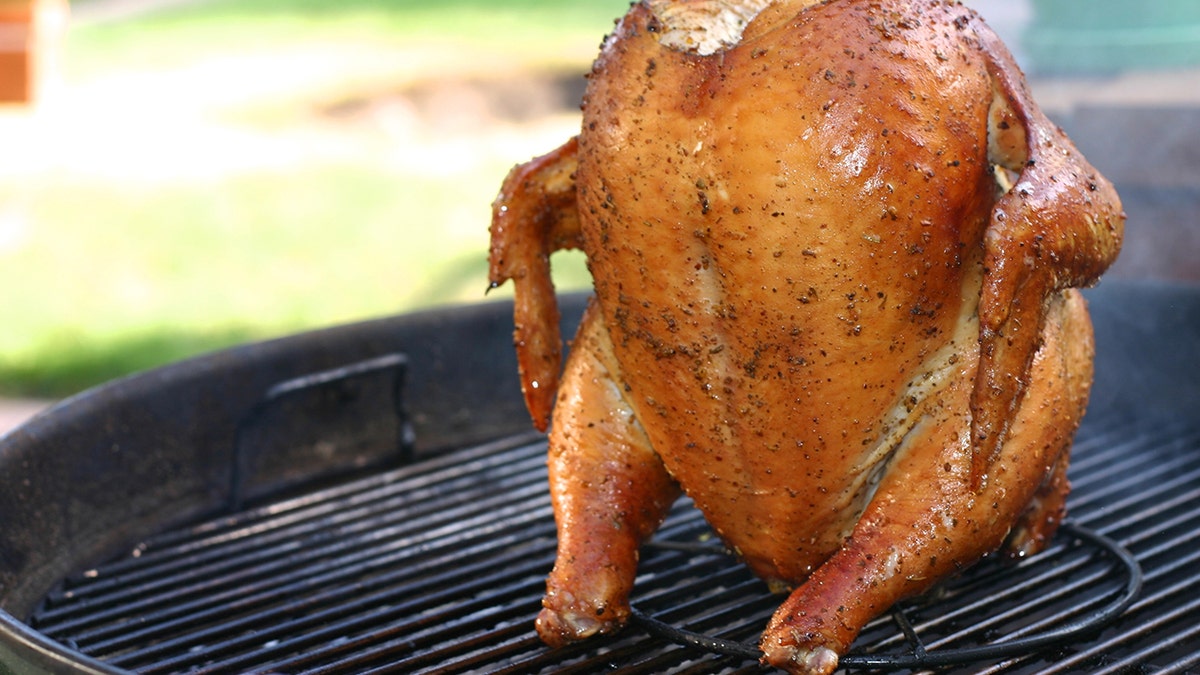
Follow these tips for easy beer can chicken. (iStock)
It’s hard to believe that “beer can chicken” is one of the easiest ways to grill a chicken, but cooking it vertically, atop a semi-full can of beer—yes, you can cook with beer—is the way to go if you’re looking to wow your guests. Not only does it look impressive, it tastes amazing, too.
“The thing that makes it so delicious is the chicken sits on a beer and as the beer is heating up, it’s throwing steam and flavor into the inside of the chicken which keeps things incredibly moist,” says Food Network star, Iron Chef and restaurateur Michael Symon. (His restaurant B-Spot made our list of the best burgers in the U.S.) He includes a beer can chicken recipe in his new cookbook, Playing with Fire.
Check out Chef Symon’s recipe below plus some of our tricks to make the season’s best beer can chicken:
How to Make Beer Can Chicken
Ingredients
- 1 and 1/2 tablespoons garlic salt
- 1 and 1/2 tablespoons dried oregano
- 1 tablespoon coriander seeds (toasted, ground)
- 1 tablespoon smoked paprika
- 1/2 teaspoon Kosher salt
- 1 and 1/2 teaspoons freshly ground black pepper
- 1 lemon (halved)
- 1 (3-4 pound) whole chicken
- 1 12-ounce can cheap beer
Instructions
Step 1: Prep the Chicken
Toss the neck and giblets from a whole chicken. Rinse the chicken (inside and out) under cold running water, and pat dry with paper towels.
In a small bowl, mix to combine the garlic salt, oregano, coriander, paprika, Kosher salt and pepper. Squeeze the lemon halves all over the inside and outside of the chicken. Season the chicken inside and out with the spice mixture and refrigerate, uncovered, for at least 3 hours but preferably overnight. (This dries the skin out, creating a super crispy chicken.)
Step 2: Preheat Your grill
Prepare your grill for high indirect heat (no coals or burners on directly under the bird). Do this by creating two heat zones: high and low. For a charcoal grill, stack coals on one side of grill. For a gas grill, leave one burner turned off. This allows your grill to cook like a convection oven, but still gives your food that distinct and smoky grill flavor.
Learn more about direct vs. indirect heat here.
Step 3: Add the Beer
Pick your favorite light-tasting beer and remove about one-third from the can. (You can also use soda, orange juice, cider or any other flavorful liquid.) Place the chicken on top of the beer can, sliding the can up and into the cavity of the bird. Set the bird upright and coat the chicken in olive oil.
Pro Tip: If you don’t want to place a can in the chicken, you can use a beer can chicken roasting rack. It includes a stainless steel canister that you can fill with beer or your preferred cooking liquid of choice.
Step 4. Move Chicken to the Grill
Position the chicken on the low-heat side of the grill, using the beer can and legs to keep it sturdy. Cover and cook until the chicken reaches an internal temperature of 160ºF at the meaty part of the leg, about 45 minutes. If you’re using charcoal, you may need to add more to maintain heat.
Pro Tip: For a built in side-dish, try placing a roasting pan filled with vegetables under the chicken while it cooks. The pan prevents flare-ups and the contents will cook in the tasty drippings that run off the chicken. Cover the vegetables in olive oil, season with salt and pepper and add aromatics like fresh herbs and garlic before cooking. Stir from time to time so the veggies cook evenly.
Step 5: Remove Beer Can
Once the chicken is fully cooked, carefully remove it from the grill. Grab the chicken using tongs and slide a sturdy, wide spatula under the beer can. Transfer the chicken to a cutting board in an upright position, loosely tent with aluminum foil and let rest for 10 minutes. Carefully lift the chicken off the beer can, keeping the can upright to prevent the hot beer from spilling. Discard the beer, carve and serve.
