


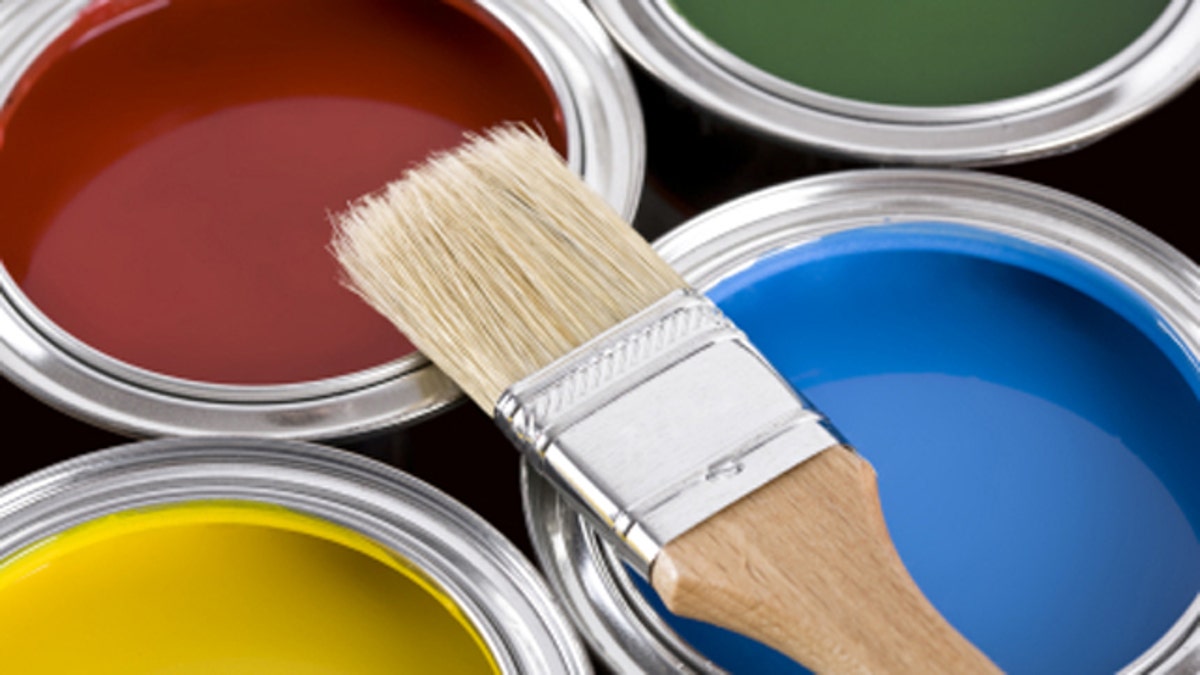
It’s the most tackled home improvement project by homeowners and renters alike, yet I always hear my customers crying “I hate to paint!”
My reply has always been, “Then why do it?”
It is true that a quick coat of color can give you the biggest bang for the buck when remodeling, but it’s a tedious task that can take a lot longer than expected, and it is very easy to end up with a messy result. Most people reading this article would leave the siding and kitchen jobs up to the professionals, yet they often decide to brave the brush to tackle a painting job.
Even though it may seem simple, you need to know what you are getting into before you start, so that you can decide whether or not this is one of those projects you really want to do yourself, or leave up to the professionals. It could take an average person a full weekend to paint a room. That is, if they do it correctly, and don’t have to run back to Home Depot three times for the things they forgot the first two times they were there.
When you hire a pro they already have all the tools and skills needed to get the job done quickly and correctly. They know the latest in “green” painting products to keep you healthy and safe, and how to eliminate unnecessary waste by purchasing only the amount of paint they need. An EPA study estimated that approximately 10% of the 637 million gallons of paint sold annually gets thrown away.
Still, if you’re strapped for cash and can’t afford a pro, or are simply eager to do it yourself, you need to decide on how good you want it the finished product to look. Do you care if it’s sloppy where smudges, lines, holes, and bumps are visible on the walls? Sure you do.
So, if you are set on doing it, then do it right. But before you even touch a brush you have to do some homework end get yourself educated. And don’t try to get away with cheap substitutes thinking that you’ll save a few bucks.
A chair is not a ladder. It’s not worth the risk of spending six weeks on disability because you fell off of one, not to mention the cost of replacing the rug that took a direct hit from the open can of paint you were holding when you went down. When that happens, you’ll quickly learn that the old cotton bed sheets you used, instead of a painter’s canvas drop cloth, allow the paint filter through like water in a colander.
The old saying “the right tool for the right job” especially holds true for painting. You’ll need brushes, rollers, sleeves (the furry tubes that go on the roller), a long pole, ladder, spackle knife, paint tray, bucket, sandpaper, hammer, screw driver, etc. Don’t go to the dollar store for your tools, there’s a reason those brushes are only a buck. A good brush alone can cost about $15, but when you make an investment in good quality tools, with proper care and cleaning they should last you for years to come.
Since many homeowners and people living in apartments paint less than once a year, they don’t own these tools and investing in them can bring the cost of the painting project out of reach. So, again, weigh the price of hiring a pro against your investment in tools, materials and time. It may be actually be better for the budget, and you won’t be stuck storing everything when you’re done.
For the determined do-it-yourselfers, the most important step in painting is the preparation. Spackling, sanding, priming, and removing door knobs, picture hooks, and electrical cover plates are all extremely important. The set-up and prep always takes longer than the actual painting.
Begin by moving all the furniture out of the way, then “drop the room.” This means putting canvas cloths or rosin paper over the flooring and furniture, and covering everything that is not getting painted with painter’s plastic, using blue painter’s tape to hold it in place. This includes ceiling fans and lighting fixtures, just remember not to turn anything on when it is covered with the plastic because it could start a fire.
Take the time to spackle all holes and dings in the walls, let it dry, then lightly sand until smooth. This sounds simple, but don’t rush it, the effort will pay off in the end. If you really want the job to look outstanding, apply caulk to the spaces between the wood trim and the walls. This makes the trim look like part of the wall and helps to hide any defects.
In most cases, you’ll want to apply a coat of primer, especially over areas where you used spackle. If you don’t prime the walls where you spackle, you will see dull spots in the finished paint called "flashing". Wash away any dirt and grease from the walls, then apply the primer the same way you would apply regular paint. Primer helps the paint stick to the walls, and you’ll find your paint goes a lot further over a primed wall.
Now you are ready to paint.
The proper order for painting is to do the ceiling first, then all of the wood trim, and finally the walls. You don’t want the ceiling paint dripping all over your finished walls and trim. If you have crown molding, paint the trim first, then the ceiling.
Before you grab the roller, “cut” the room. This means painting the corners and edges where the roller can’t reach. Cutting in next to the trim takes a steady hand and a great deal of patience. Many pros will put painter’s tape along the edges of the trim so they get a straight line and need less touch ups later. If you do this, be sure to remove the tape before the paint dries, or else some of the paint might come up with it.
Now you’re ready to roll. Always use a pole with your roller, it makes it much easier on your arms and you’ll get a nicer finish. As you roll, work from floor to ceiling and move in one direction. Keep the edge of the paint wet and overlap as you go. To avoid lap lines you can back roll lightly over the area you just painted. When rolling a large area where you can’t roll one strip from end to end, fade the edges as you go to avoid roller lines.
Take your time and be patient. If this sounds like too much work and you are thinking of skipping a step, you will be unhappy with the result.
If you do decide to hire a professional, get three estimates and recommendations from friends. Scrutinize the painter and don’t be afraid to ask him to prove that he is insured. A good painter will physically measure the space to be sure he is accurate with his numbers, so don’t fall for eyeball or ball park estimates. Make sure the estimate outlines everything that will be done including closets, trim, doors, railings, and the cost for material. Never pay in full up front. Typical payment agreements vary, but the most common is 50% up front and 50% upon completion.
For those of you who brave the brush and tackle a painting project yourself, do it once and do it right. Hit the net and learn about different techniques and the latest environmentally sound products available. Don’t cut corners, because every time you look at that wall you’ll ask yourself, “Why didn’t I hire a pro?”
Jason Gurskis is a licensed home improvement contractor based in Mystic Island, New Jersey dedicated to making homes more comfortable, durable, and energy efficient.