


(iStock)
Every house could use great curb appeal. When making improvements most people think about the siding of the house, or how good the landscaping looks, but often times one big “first impression killer” is overlooked. Probably because it is under foot…or, actually, under tire.
It’s the driveway. Making this large behemoth look better is just as easy as throwing a new paint color on the wall of the living room. Think of this project as painting the driveway and it won’t seem so daunting. The most difficult part of the job is moving the heavy five gallon buckets of material around.
Sealing makes your driveway look a lot better, and last a whole lot longer too. The type of driveway discussed here is the asphalt driveway, also known as black top, one of the most common surfaces. Here is what you can expect if you plan to tackle the project yourself.
The materials required include crack filler, there are a few types, and the sealer. The tools you will need are a stiff bristle broom (a push broom is the easiest to work with), garden hose, trowel, squeegee on a stick, and a strong back. The strong back can usually be borrowed if you have a good friend or a neighbor’s kid who can help you out.
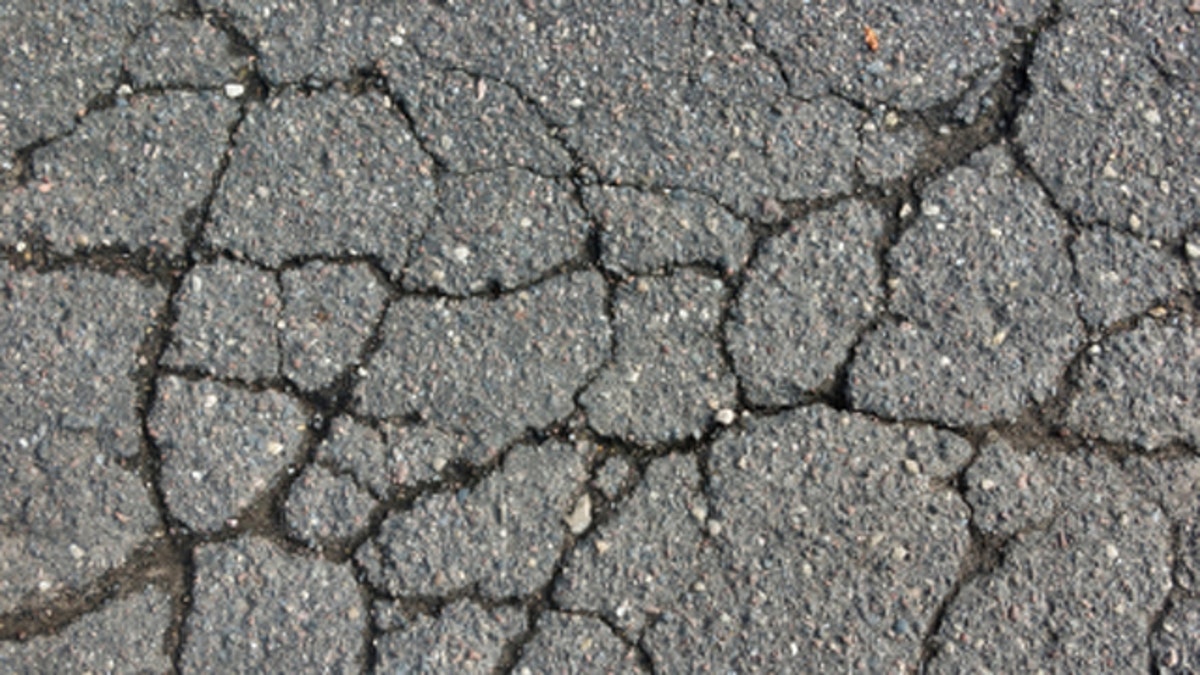
Before shopping for your materials, take a quick assessment of your driveway.
Measure the length and width and multiply to get square footage. The sealing material comes in 5 gallon containers that weigh about 55 lbs each. Each 5 gallon bucket should cover 300-400 square feet (read the label for exact coverage). Be sure to get the material labeled “driveway sealer” and not “asphalt coating” or “asphalt flashing cement”. The latter are designed for roofing and foundation water proofing projects. And always grab an extra bucket, you’ll probably need it.
As part of your assessment, look for cracks in the driveway and determine how deep and wide they are. If you find the cracks are small, approximately 3/8 inch, you’ll only need to buy a rubberized asphalt crack filler. This is a pourable, “thick as molasses” material found in a small quart bottle or tube and costs less than ten dollars.
If you find some larger cracks, approximately 1/2 inch, a driveway crack and joint filler could work out better. It comes in tubes just like caulk, and you apply it in the same way. Each tube is just under five dollars.
For low or rough spots, you’ll want to get a trowel patch product which has the consistency of cream cheese. This material comes in a small one gallon bucket and you spread it with a trowel. Each one gallon bucket will run you about ten dollars.
Those larger cracks, or areas where the asphalt is crumbling requires a “tamp and set” or “stone mix blacktop patch” type of filler. You can find it in one gallon buckets for ten dollars and it has a granular consistency similar to Rice Crispy Treats before they set up.
Once you have everything, don’t jump right into filling and sealing. Check the weather and make sure you have a few days with no rain and give the driveway a good cleaning.
Clear away any grass or weeds from the edges of the driveway, the finished product looks a lot better with a clean edge. If you haven’t done this in a few decades, you may find more driveway than you knew you had and your one car driveway now fits two.
Remove all the loose pieces of asphalt and clean out all the cracks as best you can using a stiff bristled broom or even a screw driver or chisel if necessary. This is very important. Then hose down the driveway and give it another sweep to be sure you got everything.
If you have any oil spots, you’ll want to treat the stain with a spot primer so the new sealer will stick to it. The primer is easily brushed onto the spot costs less than ten dollars a quart.
Now you are ready to attack the cracks. Fill the smaller cracks with the rubberized liquid crack filler or caulk type material. Use the trowel to smooth out the material so you don’t have any lumps in the finished masterpiece.
For the wider rough spots spread the trowel patch with the trowel no more than ½-inch deep. If your spot is deeper, let the first coat dry over night and apply another ½ inch layer. The material dries from the top down so don’t assume that since the top seems dry its dry all the way through.
In the areas that are crumbling or too deep for the other fillers, fill them with the tamp and set granular material. se a hand tamper to compress the material and to make it level. Remember it is important to remove all the old broken pieces first.
Let all of the patches and fillers dry over night.
Now its time for the sealer…well almost. This stuff is loose and can splash, so tape off the areas with blue painters tape where your driveway comes in contact with landscaping borders, or concrete walkways.
Sealing is awkward at first, but be patient, you’ll build a rhythm and blow through the work in no time. Stir the material, then pour a small amount at the high end of the driveway. With gravity working in your favor, gently pull the material back and forth with the squeegee. The squeegee glides better when you pull it so don’t push. Using light pressure on the squeegee, leave a nice coat on the driveway without any thick lines between strokes. Continue this process down the driveway.
If it was several years since the last time your driveway was sealed, or it was in poor condition, a second coat may be necessary. The second coat will use approximately one third less material than the first, but remember to allow for dry time between coats.
Most of the products recommend drying times of 24-48 hours, but check the labels before parking your car because those tire lines are difficult to remove. Humidity extends the waiting period. If it’s humid give it another day before driving. You’ve waited this long, what’s another day. Give it 24 hours before walking on it. Use the old empty buckets to block the driveway while it dries.
Some areas are just too big to repair. If you have a crack that spans several feet or the driveway is crumbling in more places than not, you may need to consider a whole new driveway or a professional to do the job. If you are in doubt, get a few estimates and talk to the friends and family. Trying to patch and seal a driveway that is completely crumbling everywhere could be throwing away good time and money.
A properly installed and maintained driveway should last thirty years or more. If you stay on top of it, and give a skim coat every two years, sealing the driveway becomes an easy job that extends its life and gives your home great curb appeal.
Jason Gurskis is a licensed home improvement contractor based in Mystic Island, New Jersey dedicated to making homes more comfortable, durable, and energy efficient.