vinyl siding being instsalled (Dmitry Kalinovsky)
Vinyl siding has long been popular as a home exterior covering -- it's used in one-quarter of new single-family homes being built today. Yes, some deride it as tacky or pass. Comedians have used it for years as a punchline. But here's the reality: It's relatively cheap, lasts for decades, looks way better than you might have thought, and offers homeowners a 78% return on investment if they ever decide to sell. Even better, installing vinyl siding is simple enough that many homeowners opt to do it themselves!
Most kits include installation instructions, and the process is pretty similar across brands. So if you want to go the DIY route, here's how to do so.
Vinyl siding parts you'll need to know
These siding systems generally include several key parts that fit together to cover the exterior of your home:
- Corner posts, which run vertically up the corner edges of your home and meet the horizontal edges of the vinyl panels.
- Fascia and flashing, which keep water away from critical parts of your home like roof rafters, windows, doors, and the corner posts.
- J-channels, which are used around windows and doors and function like corner posts to meet the edges of the vinyl siding panels.
- Starter strips, which are nailed to the surface of the home through holes that are prepunched in what is called the nailing hem.
- Vinyl siding panels, which form the outermost visible layer and interlock with the other parts of the vinyl siding system.
The best vinyl siding to pick
There are two major types of vinyl siding: hollow back and solid core, which has built-in insulation that can increase the energy efficiency of your home. In addition to these categories, there are a wide variety of vinyl siding colors and finishes, from smooth to wood grain, imitation shakes and shingles, and even imitation log cabin.
Whatever style you choose, Donald McKenna of McKenna Exteriors recommends getting vinyl siding with a thickness of at least 0.46 millimeter and a double-thick nailing hem. It's stronger and can better withstand the side-to-side motion the vinyl makes as it contracts and expands with the weather.
Work with your local home improvement store or vinyl siding retailer to determine how many materials you'll need based on the height and width of the walls of your home. You will also need nails; be sure to use galvanized roofing nails to avoid rust that may later discolor the siding.
How to measure and cut vinyl siding
Follow the manufacturer's instructions to measure and mark your home's exterior where the starter strips and vinyl siding panels will lie. Be sure to use a level to make sure your marks aren't slanted (which will be easy to notice with those long horizontal lines). Start from bottom to top, and go from the back of the house to the front.
Once you've measured where the vinyl siding panels will attach to your home, measure your corner posts, fascia, flashing, and J-channels for the edges of the walls to be sided -- the outside corners, along the roofline, around windows and doors -- cutting them to fit with a circular saw, tin snips, or whatever equipment the manufacturer recommends.
Attach the framework first
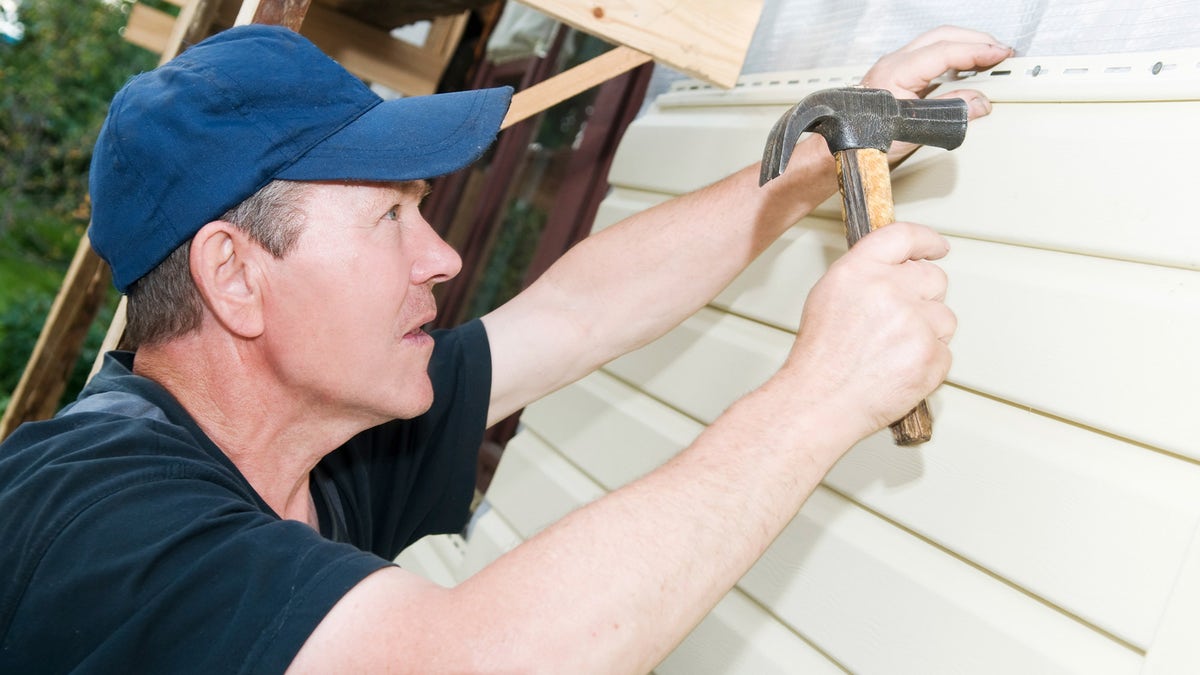
Following the marks and measurements you made earlier, attach the starter strips to the house, nailing them in place through the prepunched holes. It's important to remember, according to McKenna, that vinyl siding is "hung rather than tightly affixed to the house." So don't drive the heads of your nails in too tight! The reason: Vinyl siding needs room to contract and expand with changes in temperature and humidity. The Vinyl Siding Institute, the trade organization that provides guidelines for vinyl siding manufacturers, recommends allowing approximately 1/32-inch clearance between the head of the nail and the siding components, about the thickness of a dime.
How to install vinyl siding panels
Cut the siding panels to fit between the corner posts, fascia, flashing, and J-channels -- while noting that you'll want a small gap between the siding panels and the other components to give the vinyl room to expand with changing temperatures (the Vinyl Siding Institute recommends leaving a quarter-inch gap). And since vinyl can also contract, make sure that where the panels overlap, they do so by about a quarter-inch to ensure the underlying surface of your home isn't exposed when the vinyl contracts.
Next, snap the siding panels into the starter strips, starting from bottom to top. Each panel will snap into the panel below it, as well as the starter strip above. It's kinda like building with Legos -- no nails or screws necessary! It won't be long before you have a budget-friendly, long-lasting new exterior for your home.