(iStock)
Whether there is a worn out path or your pets have used it as their favorite pit stop, its time to ditch that old carpet. A carpet will collect dust, dander, and other allergens over time no matter how diligently you vacuum. For many people this could mean costly flair ups of the allergies and Friday nights spent kissing the Kleenex.
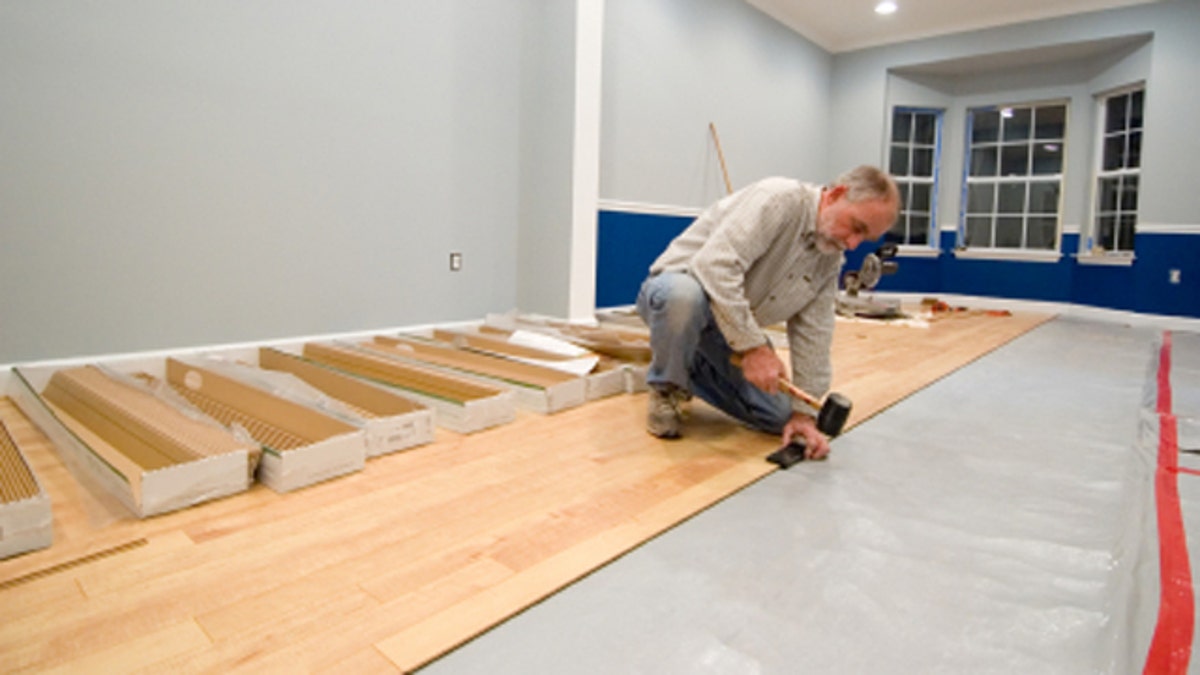
If you want cleaner air, laminate flooring is a better way to go than carpet because you can sweep up all the dust and nastiness instead of letting it accumulate. Plus, with all the styles and varieties available it’s easy to get a modern clean look in almost any room, and you can do it yourself in just one day. Installing a new laminate floor is truly a ‘big bang for your buck’ project that anyone can do.
Plus, it often costs only a fraction of the cost of hardwood flooring and you don’t need adhesives, special tools, or years of experience to get a professional-looking job. The only major tool you will need is a good saw. I like to use a radial arm saw big enough to cut the pieces in one cut. If you don’t have a power saw of any kind you can always rent one from the home improvement store, but you can always get buy with a hand saw and a whole lot of elbow grease. Measure twice and cut once. My step-father used to complain that he’d “cut the piece twice but it was still too short.”
Choosing the right look and style of laminate flooring may take as much time as putting it in. There are tons of choices and only you can decide which is right for you. Try to find a product that not only looks good but “feels” good. The heavier and thicker product will sit better against the floor and feel better under your feet. It’s well worth the extra cost. Believe it or not, you can really feel the difference between a cheap thin floor and a good heavy thick one, even if all you do is walk on it.
A low or no volatile organic compound (VOC) laminate flooring is best. VOC is basically the “new floor” smell that lingers after installation and the vapors can actually be harmful to you. Low or no VOC flooring has little or none of these compounds and is a healthier choice.
Planning for this type installation is quite easy. All you need is a smooth solid surface as a sub floor. Make sure there are no bumps or debris or you’ll see them in the finish of the new floor. Repeatedly sweep as you go!
To get the right amount of material, you’ll need to figure out the square footage (length times width) and don’t forget the closets. Each package of flooring will indicate how many square feet it will cover. Get enough to cover plus one extra box to cover mistakes. Two other materials that you’ll need are underlayment and transitions, such as thresholds.
Some of the more expensive laminate flooring comes with a vapor barrier or pad already attached. If the flooring you choose does not come with this attached you’ll need to get it. It comes in rolls and this stuff isn’t cheap. The type you get will depend on your subfloor. If you are putting the floor over a plywood floor, a good pad is enough to do the trick, but if you are installing over a concrete floor then using a pad with a vapor barrier is imperative. Don’t try to cut corners here. Your new laminate floor will clap against the sub floor if there is no pad between them, and if you need a vapor barrier and don’t use one your floor could swell and break apart.
Transitions and thresholds are important when you go from room to room, or from one type of flooring material to another. Simply measure the width of doorways and the length of the junctions between different flooring materials. The transitions come prepackaged and the package is set up for all scenarios like going from laminate to carpet or laminate to tile.
So how easy is the installation process? It is super easy… well almost. You will definitely need a second set of hands. Don’t believe the packaging when it says you can do it alone. The pieces click together with a tongue and groove system. The first row always goes in like magic and you laugh to yourself how easy this job is going to be. Then you find yourself on the second row. The directions say to click the whole row together then snap it into place against the first row, but the pieces separate when you try to lift the whole row by yourself and some pieces will click in and some won’t. Bribe a friend to help.
Be sure to follow the instructions exactly. This type flooring will expand or contract slightly from season to season, so don’t skip the step about leaving a little space around the edges of the flooring. This is called an expansion joint. Trust me, you need this space. I’ve seen floors bow up in the middle like the fun house at the carnival because the flooring needed to expand but had no where to go.
Before you start the actual install, it’s worth checking out a video or two about it on the internet. There are a million out there. Once you see a couple of rows done you’ll catch on. After the first two or three, you’ll build a rhythm and the work will fly by. But don’t go so fast that you don’t pay attention to the patterns printed on the flooring. Manufacturers usually have a handful of unique patterns that get repeated every few boards. Make sure you don’t align repeating patterns in a row or too close together or the duplication will stand out.
This also goes for the joints between the boards. Make sure you stagger your joints so you don’t end up with one long seam down the middle of the room. The directions will clearly explain this, and it’s the reason you have to start the second row with a cut board.
And if the pieces don’t snap in tightly and you need to tap them together don’t use a hammer alone because you’ll smash the edge floor board. Put small piece of wood blocking against the edge of the flooring and hit the block instead of the flooring to avoid causing damage.
Finishing the floor will depend on how you installed the floor. If you ran your flooring up to the existing base molding, leaving enough room for expansion, then you will need to install strips of quarter round molding to hide the expansion gap. It gets nailed against the base molding, not into the floating laminate flooring, which would prevent it from expanding and contracting. If you removed the existing base molding and ran the flooring close enough to the wall so that the molding covers it when you put it back in it then you don’t need additional trim.
One other thing: laminate flooring is not great for wet areas. If its core layer of high density fiberboard gets wet it will swell and break apart. It can be washed with a damp mop or sponge but not soaked, so you’ll want to keep it out of the bathroom and give serious thought before putting it in your kitchen. If you have a dog that leaves a drip line of drool each time he gets a drink of water, you’ll have problems.
Putting in a new floor may seem like a big job, but don’t let the size of the project scare you. Click and lock laminate flooring is one of the easiest flooring materials to install. So, get rid of that old carpeting and give your room a new updated look.
Jason Gurskis is a licensed home improvement contractor based in Mystic Island, New Jersey dedicated to making homes more comfortable, durable, and energy efficient.