Simplifying strategies, tips, and techniques—from the Real Simple test kitchen to yours.
1. How to Prevent Food From Sticking
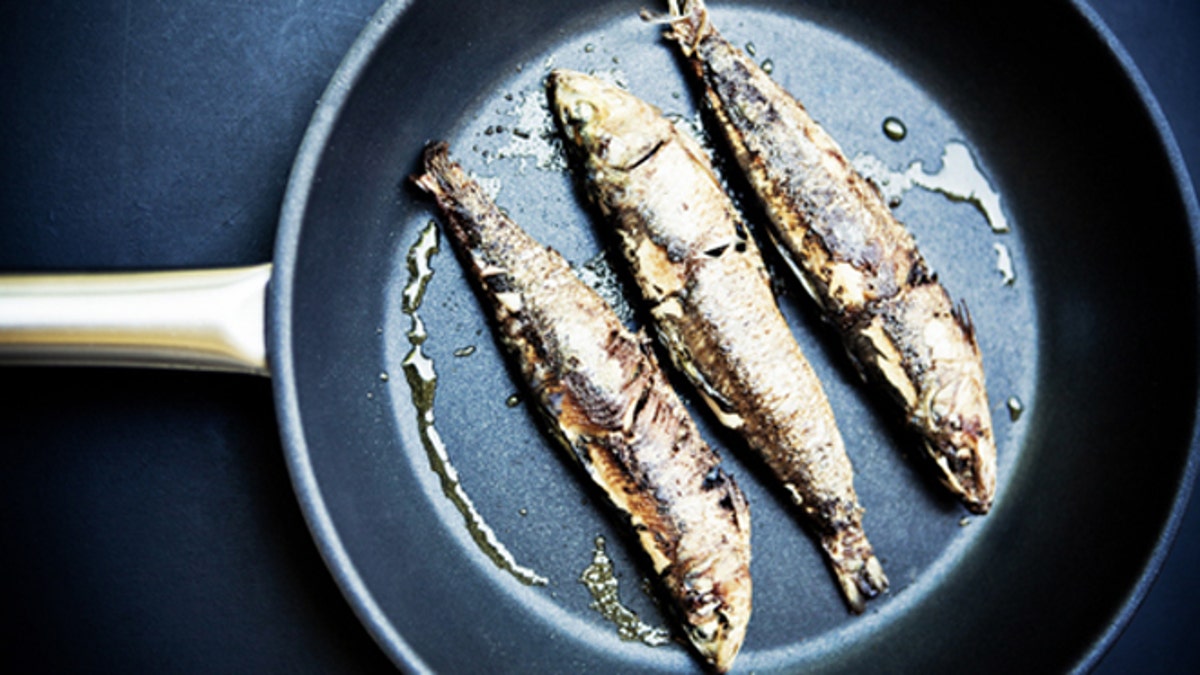
Fresh Sardines (iStock)
Love the sear of a stainless skillet but not the way peppers can start to meld to the bottom midway through cooking? A little more oil should help. But don’t just pour it over the top of the food or you’ll end up with a greasy, soggy mess. Instead, use a metal spatula to loosen the vegetables or meat and push them to one side of the skillet. Then tilt the pan so the empty area is over the heat. Add the oil to the empty area (1 or 2 tablespoons should do it) and let it get hot before moving the food back. The heated oil on the hot pan will create a slick, nonstick surface, guaranteeing a surefire sauté.
2. Reviving Crystallized Honey
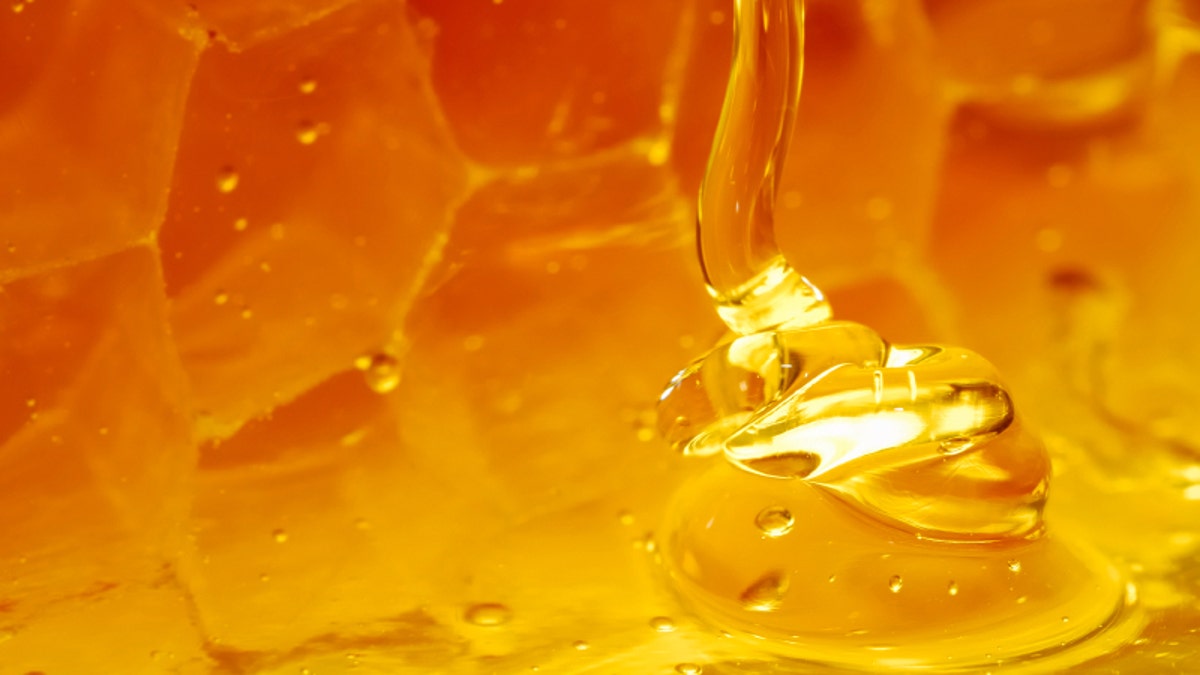
(iStock)
Try this trick to bring honey back to a luscious, drizzly state: Place the container in a bowl of hot water until the honey is smooth and runny, 5 to 10 minutes. (Alternatively, remove the lid, then microwave the jar in 30-second intervals.) To prevent crystals from forming again, store the honey in a cool, dry place (not the refrigerator) and avoid introducing moisture. So no double-dipping once your spoon hits your tea.
3. Cutting Roly-Poly Vegetables Safely
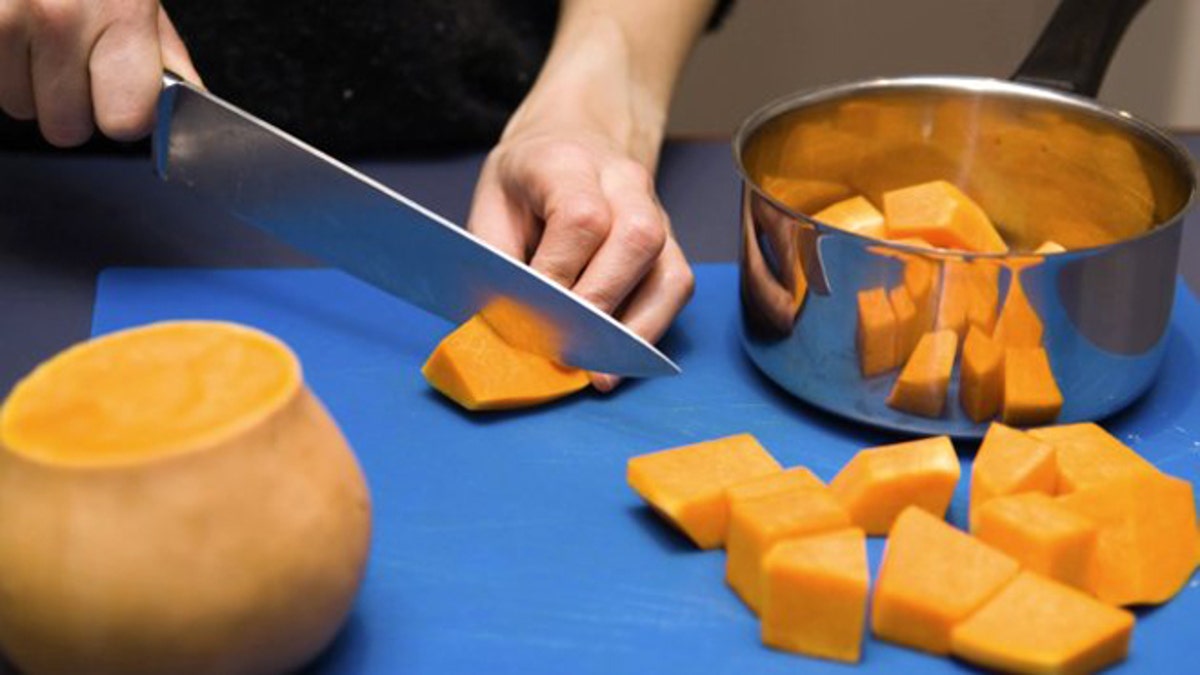
Pumpkin preparation on blue (iStock)
To keep your fingers safe from nicks, use the following technique on wobbly vegetables (such as potatoes, squash, and beets).
Step 1: With a sharp knife, cut a thin slice along the length of the potato (or another vegetable) to create a flat side.
Step 2: Turn the potato cut-side down on the cutting board. This will ensure that the potato is stable and won’t roll away. Slice as desired, stopping when the potato becomes unsteady and difficult to grip.
Step 3: Turn the potato so that the broad, flat side from which you made the last cut is facedown on the cutting board. Continue to slice as desired.
4. How to Make Simple Syrup
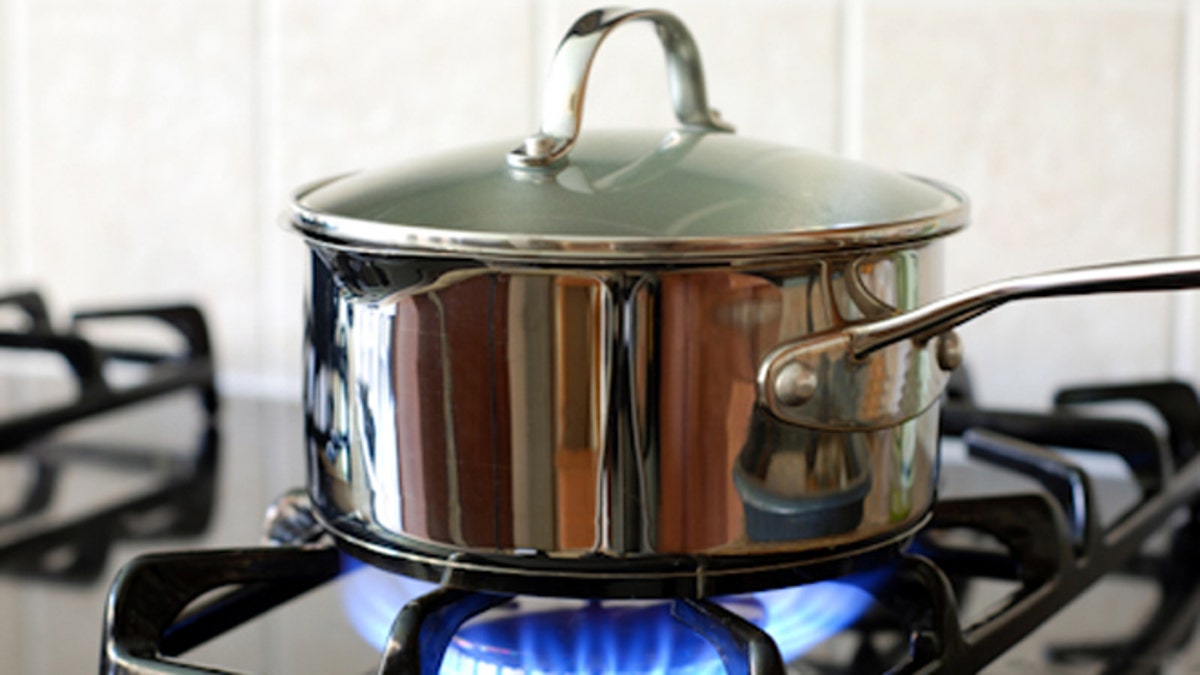
Pot on the gas stove (iStock)
Want to sweeten your lemonade or iced tea? Don’t reach for the sugar bowl. You’ll get a better result—no sandy granules at the bottom of the glass—if you mix up a batch of simple syrup instead. Just combine 1 cup water with 1 cup sugar in a small saucepan and cook over medium heat, stirring often, until the sugar has completely dissolved, 3 to 5 minutes. Let it cool and add to beverages as needed. (Use 1½ teaspoons of simple syrup for every teaspoon of sugar you would usually use.) Store the syrup in the refrigerator for up to 2 weeks.
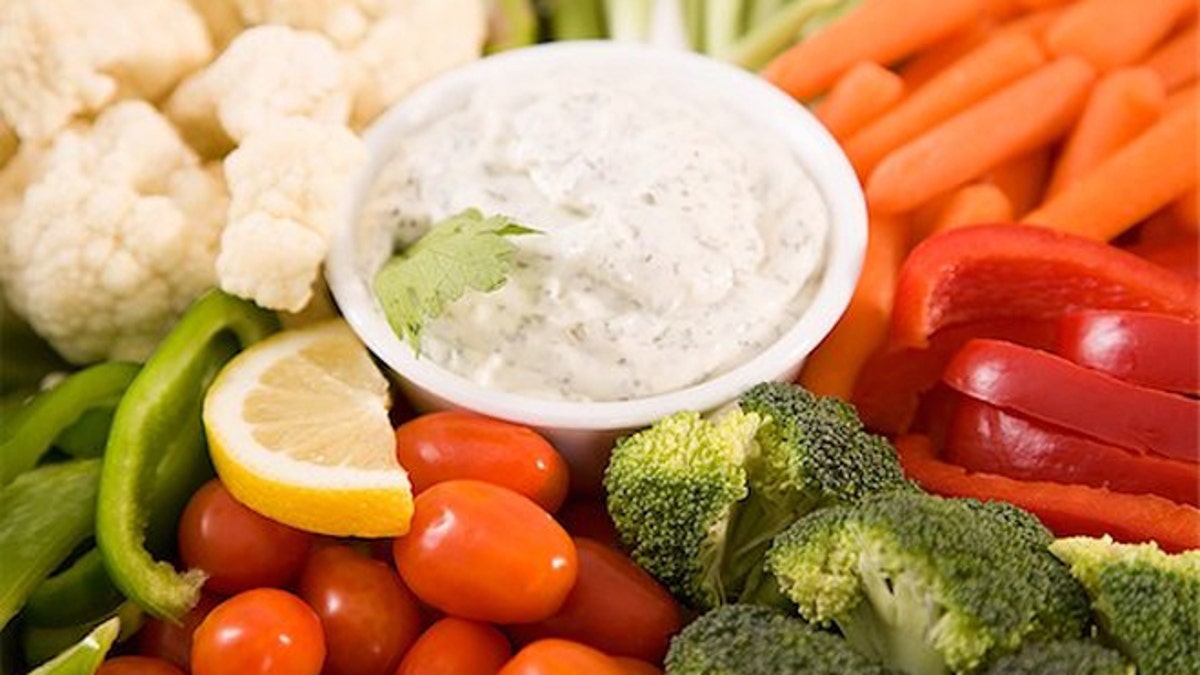
5. Keeping Crudités Fresh
(iStock)
There’s nothing inviting about a platter of limp broccoli florets and dried-out carrot sticks, so use this strategy to keep cut-up produce crisp and bright for up to 12 hours: Cover everything with a layer of damp paper towels, then wrap the platter in plastic wrap and refrigerate until the start of the party (a.k.a. crunch time).
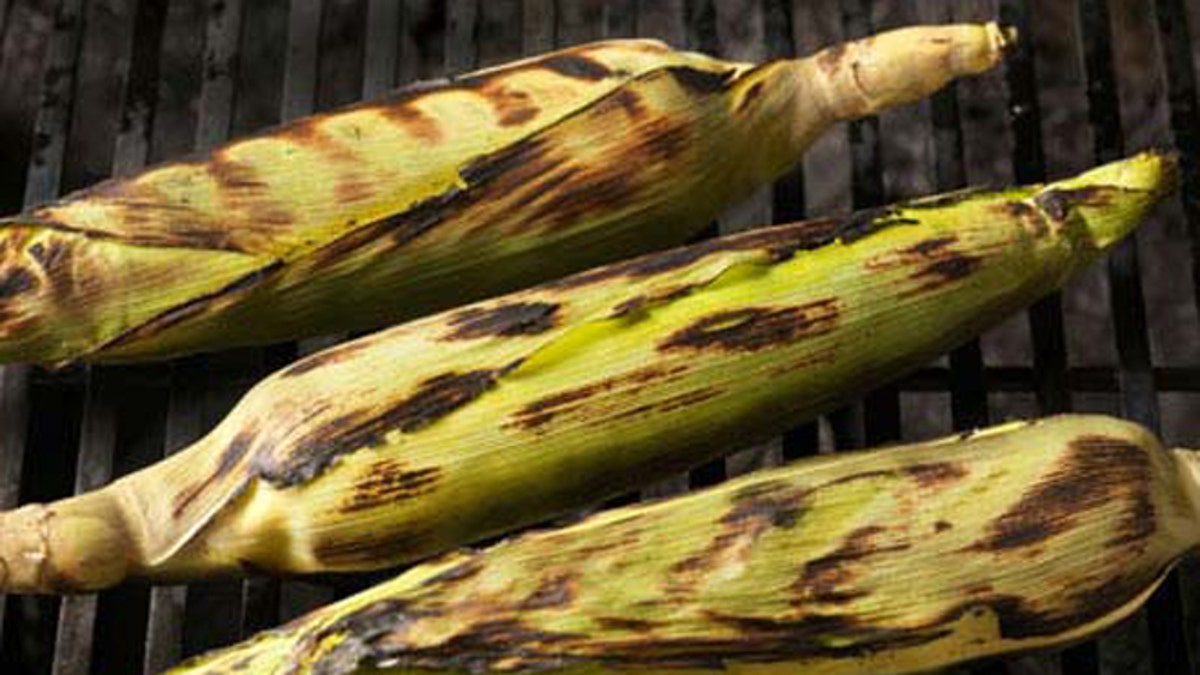
6. How to Grill Corn
(iStock)
It’s hard to beat the smoky-sweet flavor of fresh corn cooked on a grill. Here’s how to do it.
Step 1. Pull the husks back from the corn, but leave them attached at the stem. Remove and discard the silks.
Step 2. Pull the husks back up around the corn. Soak the ears in a roasting pan or large bowl full of water for 15 minutes. (The water will prevent the husks from burning.
Step 3: Grill the corn over medium heat, turning often, until the kernels are tender and the husks are lightly charred, 8 to 10 minutes.
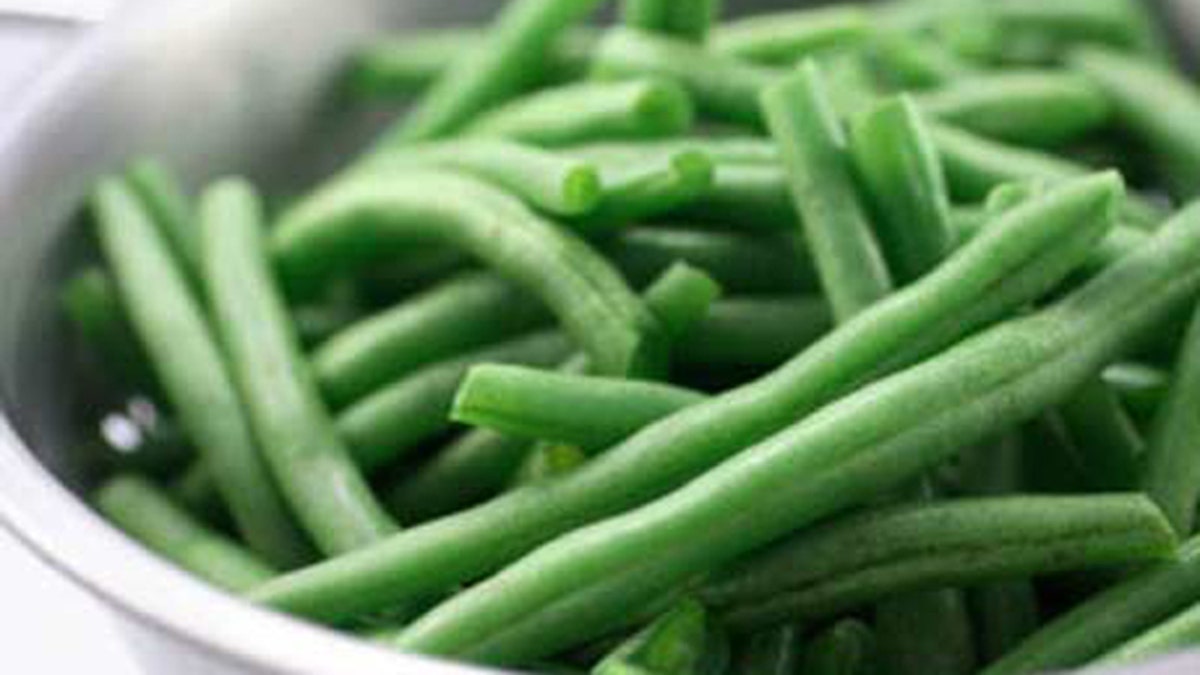
7. Trimming Green Beans in a Snap
(iStock)
Sitting with a bushel of beans and carefully pinching the ends off each one can be quite relaxing—if you’re sitting on a porch swing on a lazy afternoon. But if you have a cluttered countertop and 15 minutes until dinner, try this technique instead.
Step 1. Line up the stems. The beans’ tough, knobby ends need to go, but the other ends (the skinny, tapered tips) are tender and perfectly fine to eat. Sort the beans so that the stems all face one direction. Scoot a handful against your palm so that they’re even.
Step 2. Using a chef’s knife, cut off the knobby ends with one slice.
8. Making Stronger Iced Coffee and Tea

(iStock)
All too often, iced brews concocted at home are weak and watery—a total buzzkill. That’s because simply mixing your regular coffee or tea with ice dilutes its intensity. Fortunately, it’s easy to give your drink more muscle: Make it double-strength. For coffee, use ¼ cup ground beans for every cup of water; for tea, use 2 tea bags for every cup of water. Then chill, pour over ice, and get your day off the ground right.
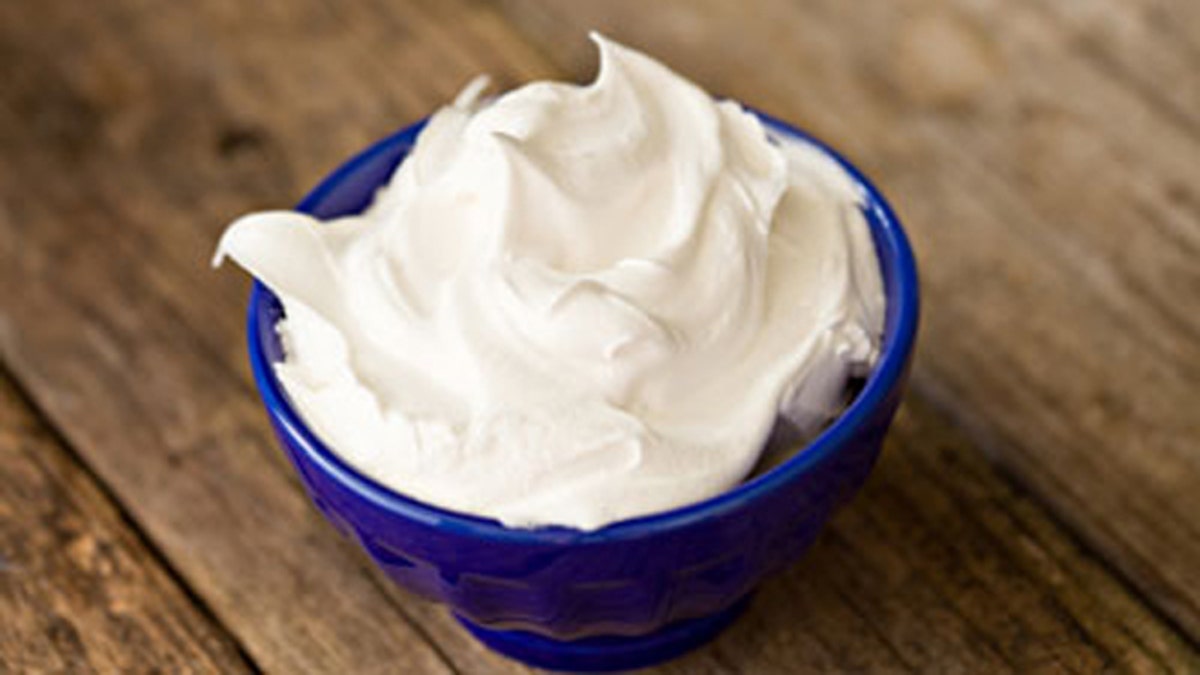
9. Mastering Whipped Cream
(iStock)
Getting soft peaks—and not going too far (oops, butter!)—is easy if you use these three tips.
1. Start with the right ingredients. For fluffy, stable whipped cream, use cartons labeled “heavy cream,” “whipping cream,” or “heavy whipping cream.” (Save the light cream for coffee.) For sweetness, add 2 tablespoons granulated sugar per cup of cream before beating.
2. Watch carefeully. In a chilled bowl, with an electric mixer on high, beat chilled cream and sugar until the beaters leave visible lines when drawn across the cream. Reduce mixer speed to medium-low and continue to beat until soft peaks form. (When you hold up the beaters, the cream should stand up, then flop over.)
3. If you do overwhip, don’t panic. Add a splash of fresh, unwhipped cream to the curdled lumps and fold it in with a rubber spatula. Repeat as needed until the mixture smooths out.
10. A Cleaner Way to Crack an Egg
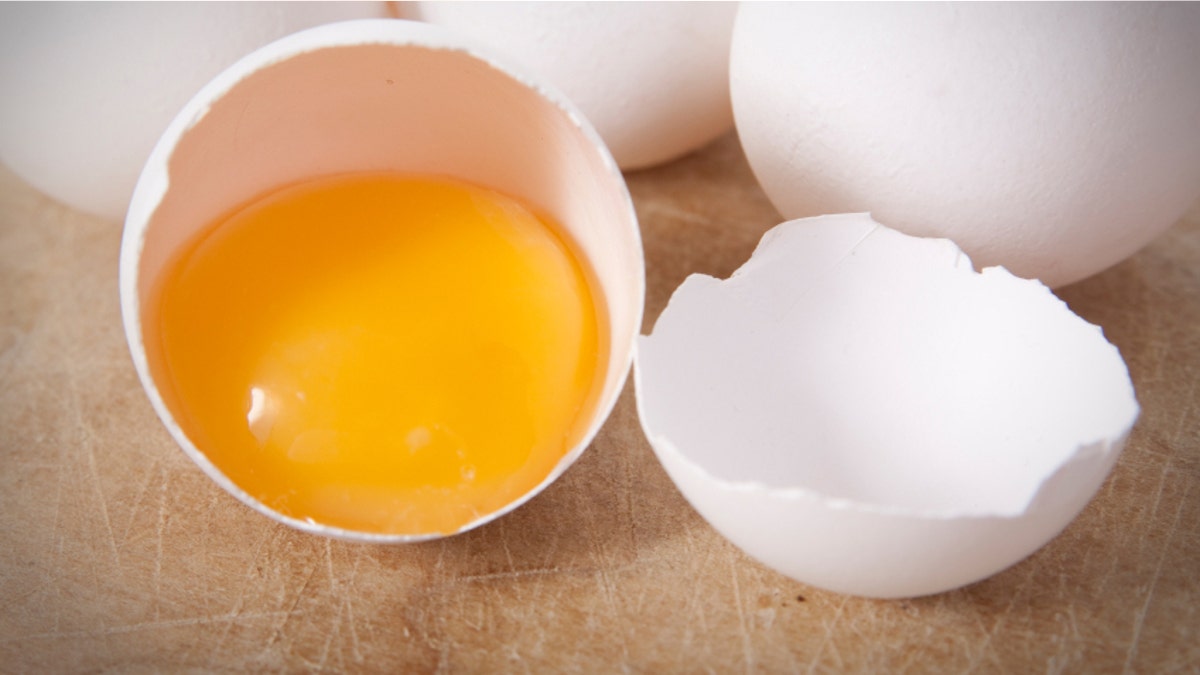
(iStock)
When you tap an egg on the edge of a bowl, you don’t break just the shell. The thin membrane surrounding the white and the yolk also ruptures, so tiny shell shards can mix with the liquid and end up in your finished dish. (Worst omelet ingredient ever.) Instead, crack the egg on a flat surface, like a counter, to create one clean break. That way, the membrane stays intact, meaning no shell in your scramble.
Step 1: Hold the egg in one hand and tap it firmly on a hard surface.
Step 2: Check the break: You should see an indentation and one side-to-side crack, like an equator.
Step 3: Place your thumbs on either side of the crack and gently pull the shell apart. Any shards will stick to the membrane, not fall into the bowl.
More from Real Simple
Fun stories about food, relationships, the great outdoors and more.