![1]()
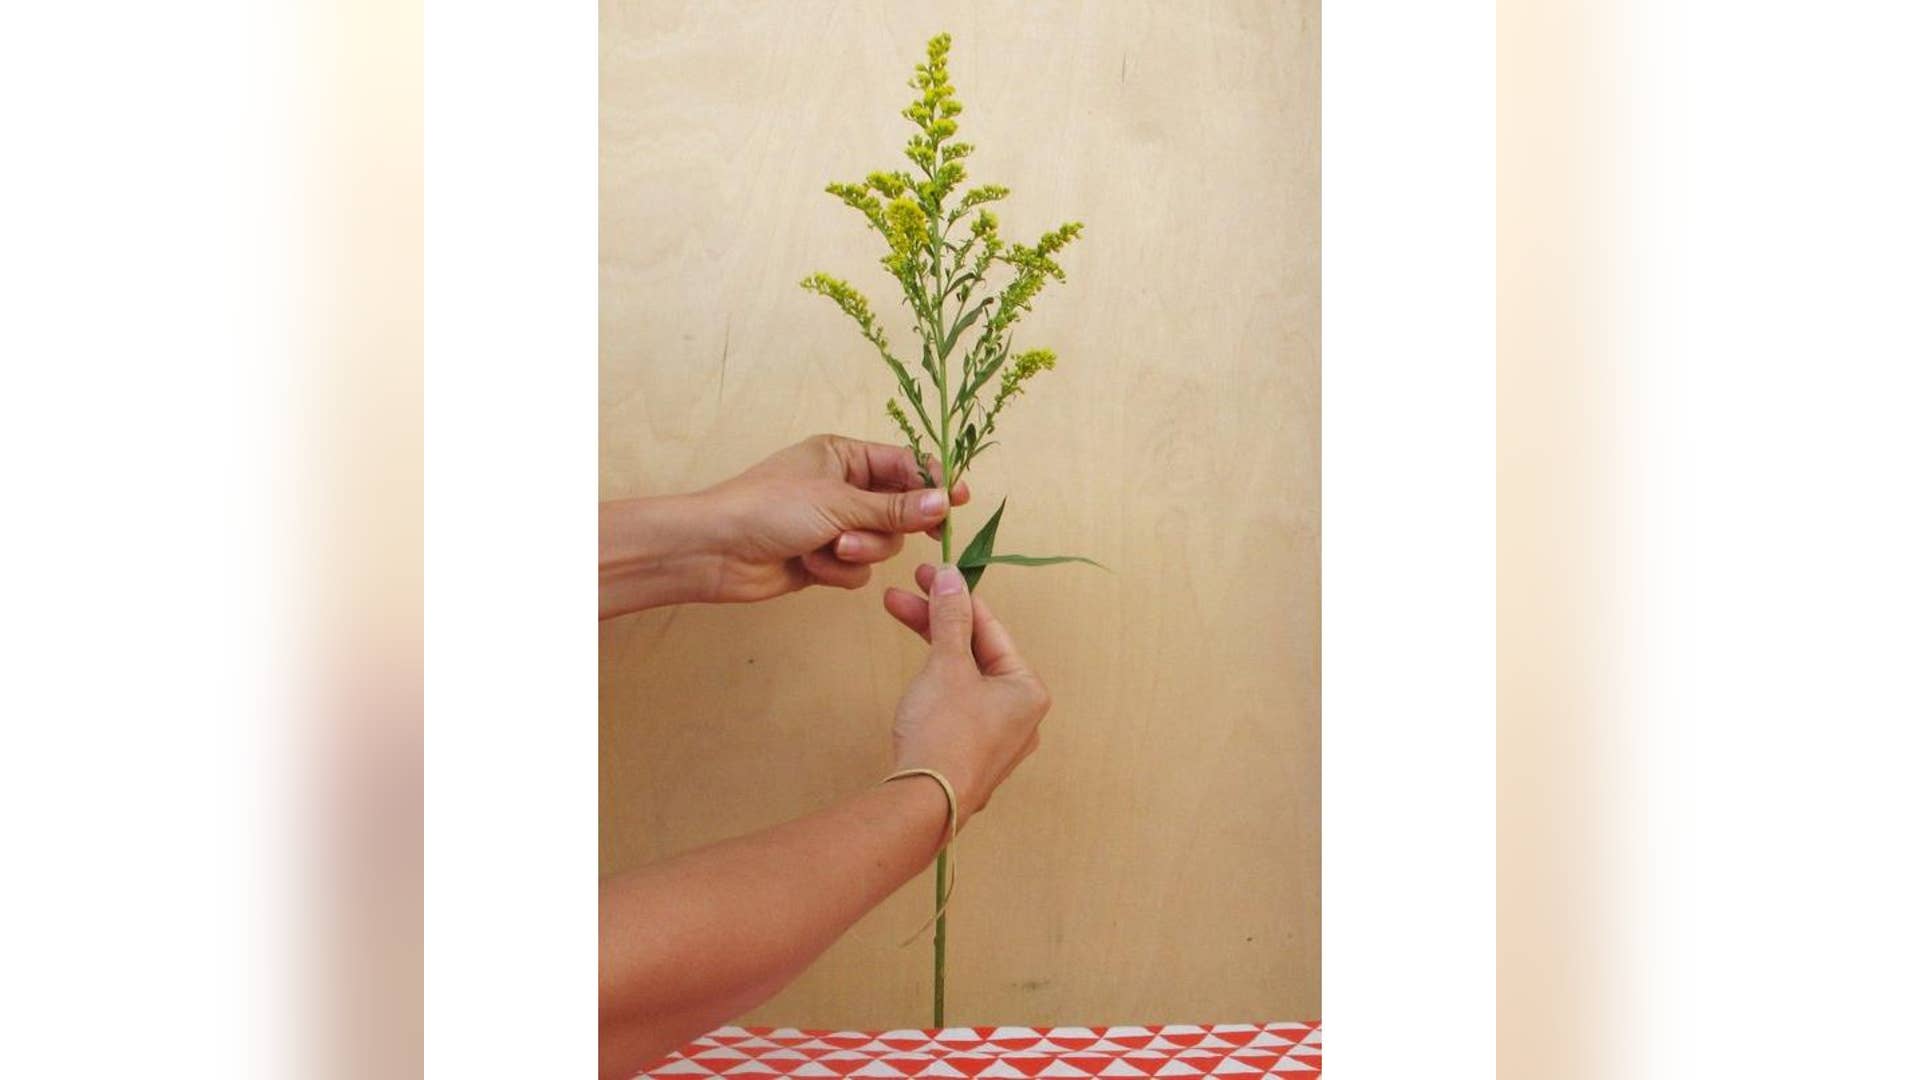
![Step 1:]() The first step is always to put a rubber band around your wrist! Then, using your thumb and index finger, strip off all the leaves that you don't want. Wear gloves if you are sensitive or if your hands are currently looking perfect — mine never are so I never do. Tip: Conventional floral wisdom is that you shouldn't allow leaves below the vase's waterline, but in general you'll want quite a few more leaves removed than that. It's often pleasing to leave the top three leaves (or sets of leaves), though you'll want to leave more on for wilder, bushier arrangements and remove all of them for cleaner, more modern arrangements. Remember that you can always take off more leaves but you can't put them back on!
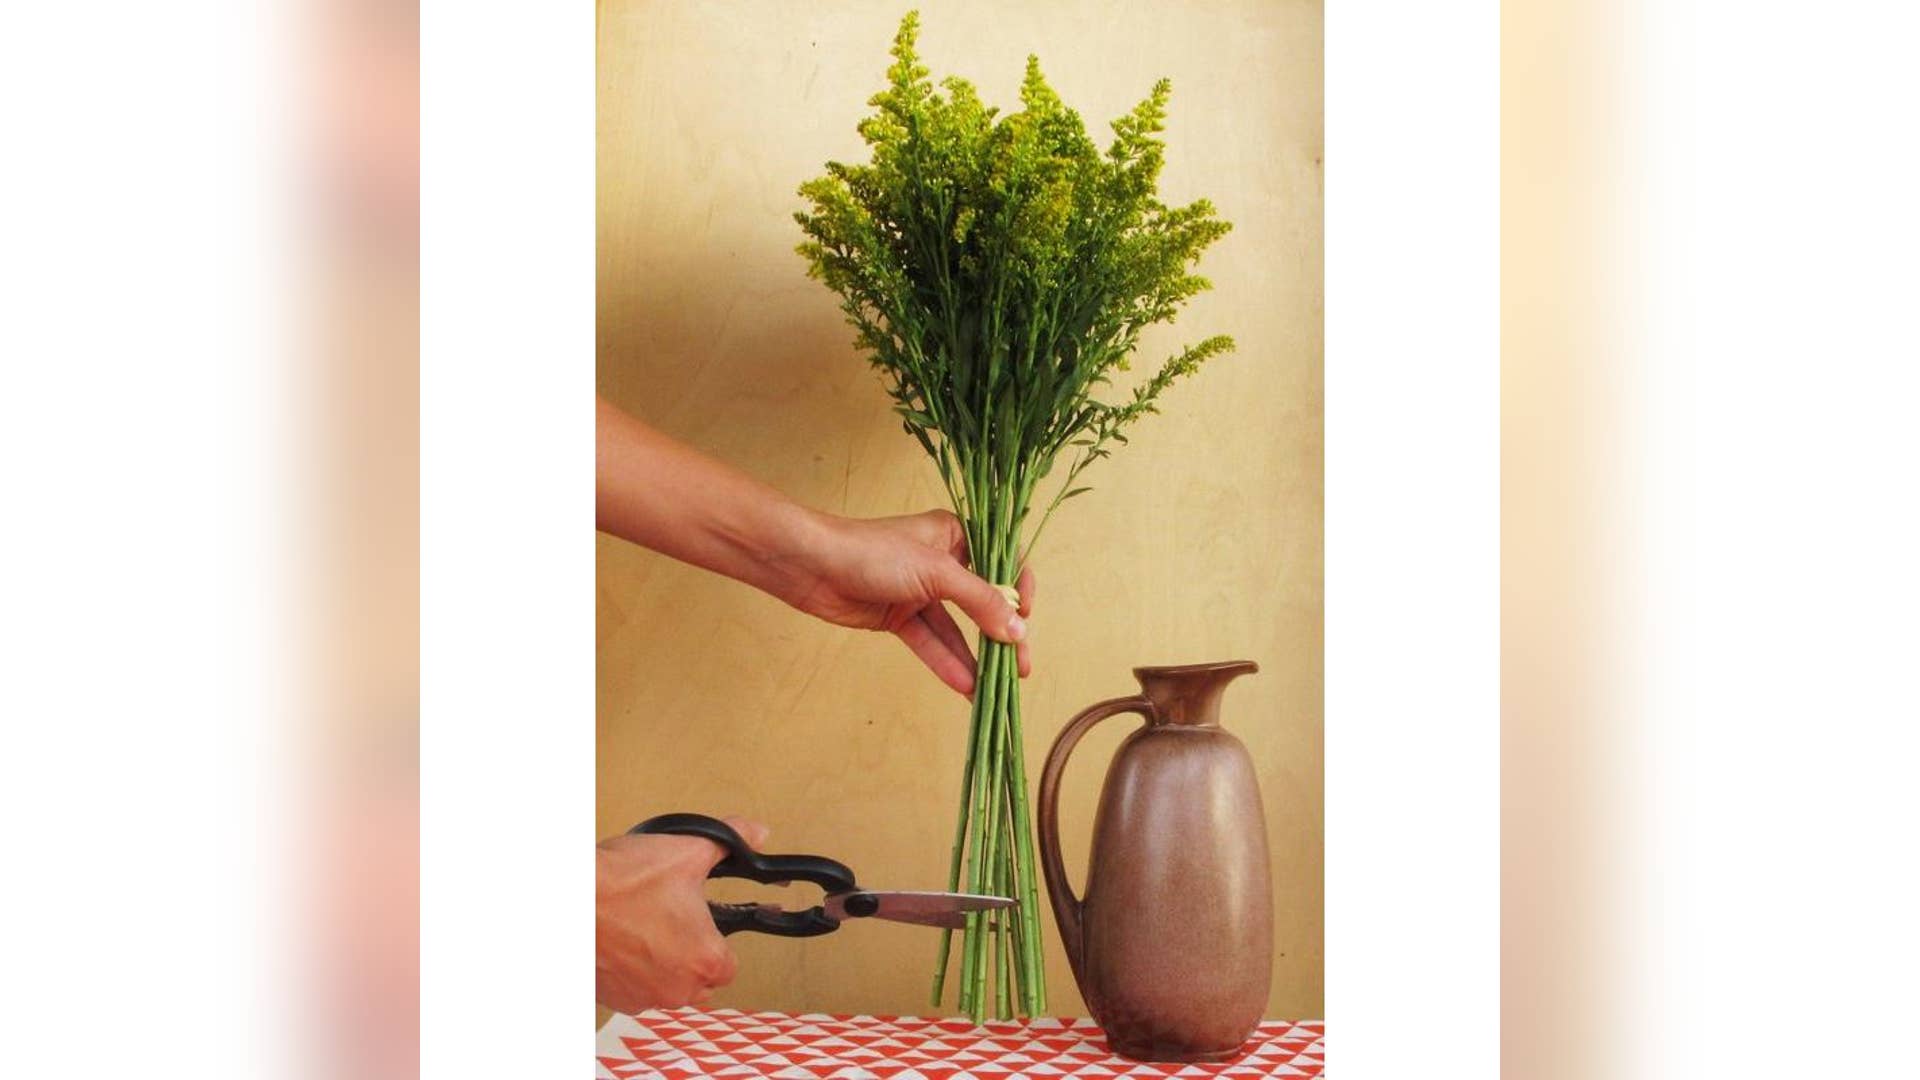
The first step is always to put a rubber band around your wrist! Then, using your thumb and index finger, strip off all the leaves that you don't want. Wear gloves if you are sensitive or if your hands are currently looking perfect — mine never are so I never do. Tip: Conventional floral wisdom is that you shouldn't allow leaves below the vase's waterline, but in general you'll want quite a few more leaves removed than that. It's often pleasing to leave the top three leaves (or sets of leaves), though you'll want to leave more on for wilder, bushier arrangements and remove all of them for cleaner, more modern arrangements. Remember that you can always take off more leaves but you can't put them back on!![Step 2:]() Here you see the cleaned-up stems, the leaves to discard, and the tiny bits that were too low on the stem for the main arrangement. Tip: Save the small bits for a separate mini-arrangement!
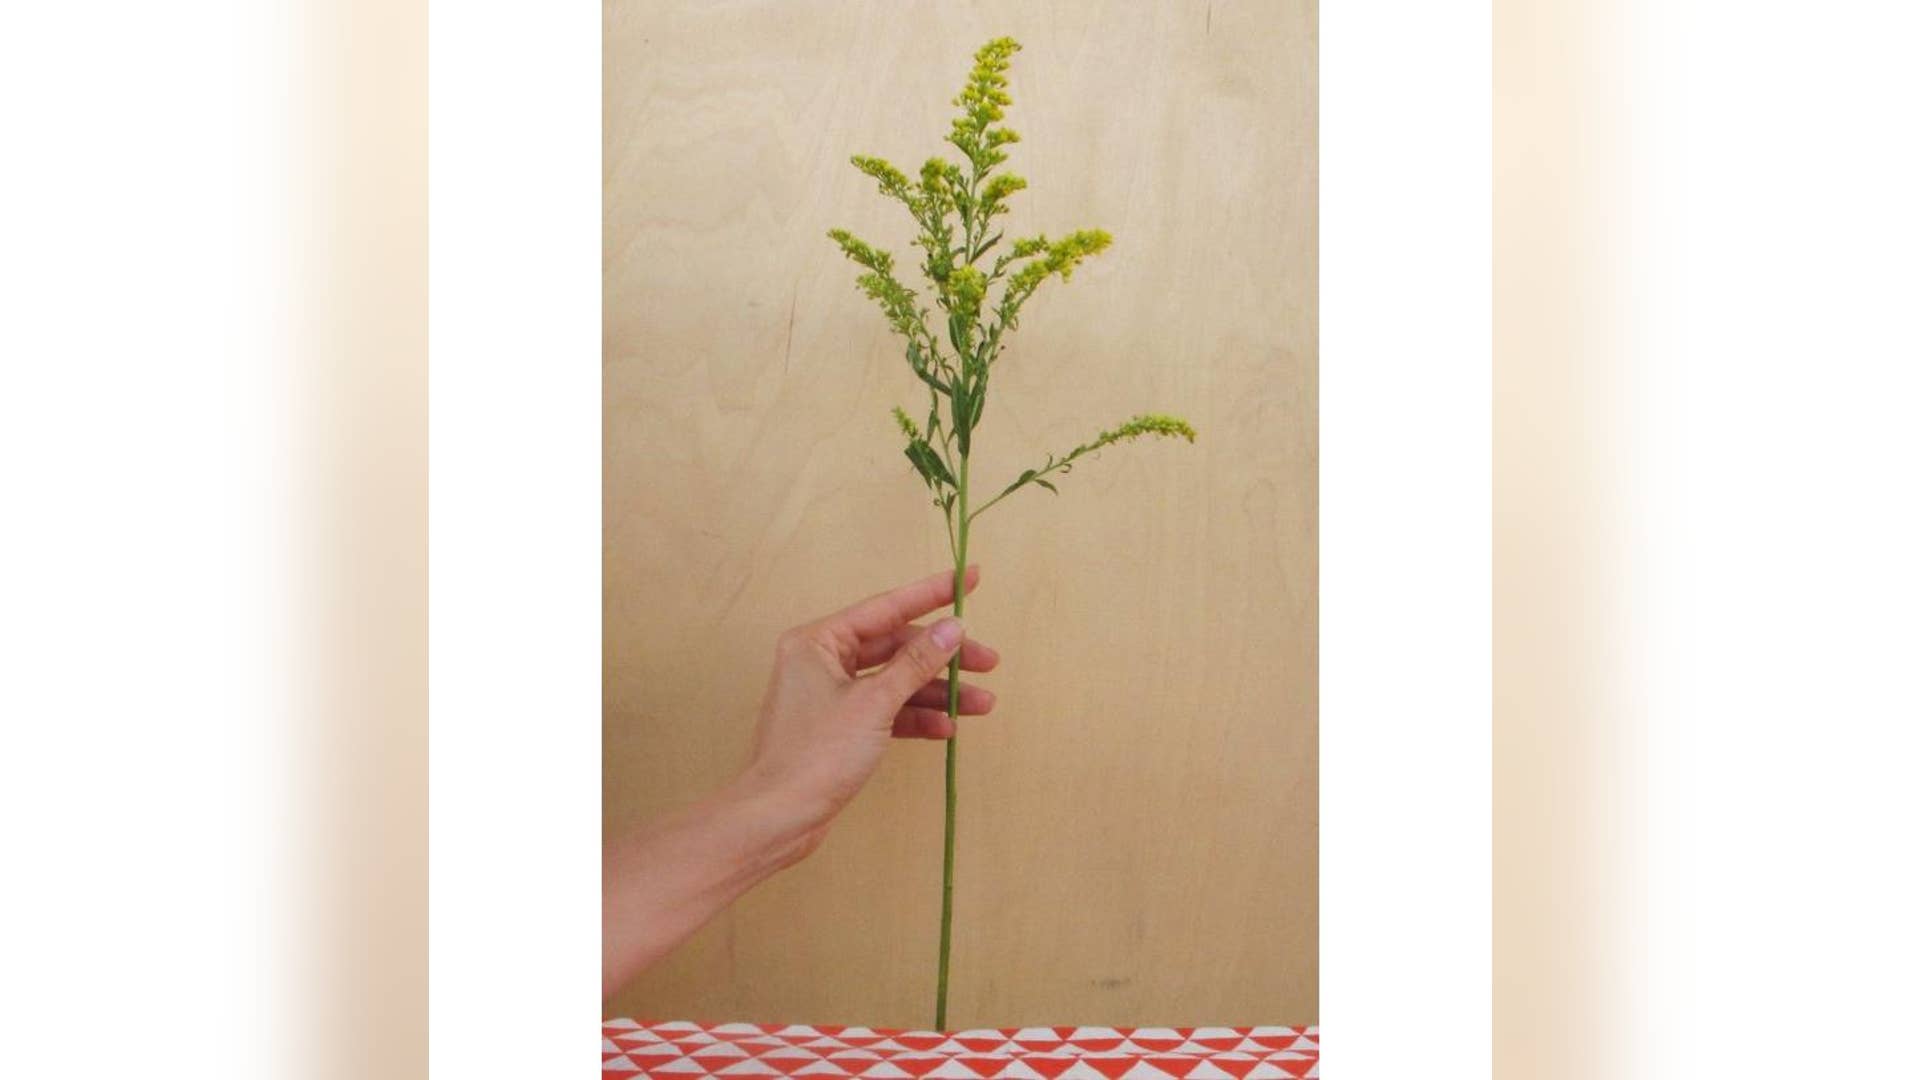
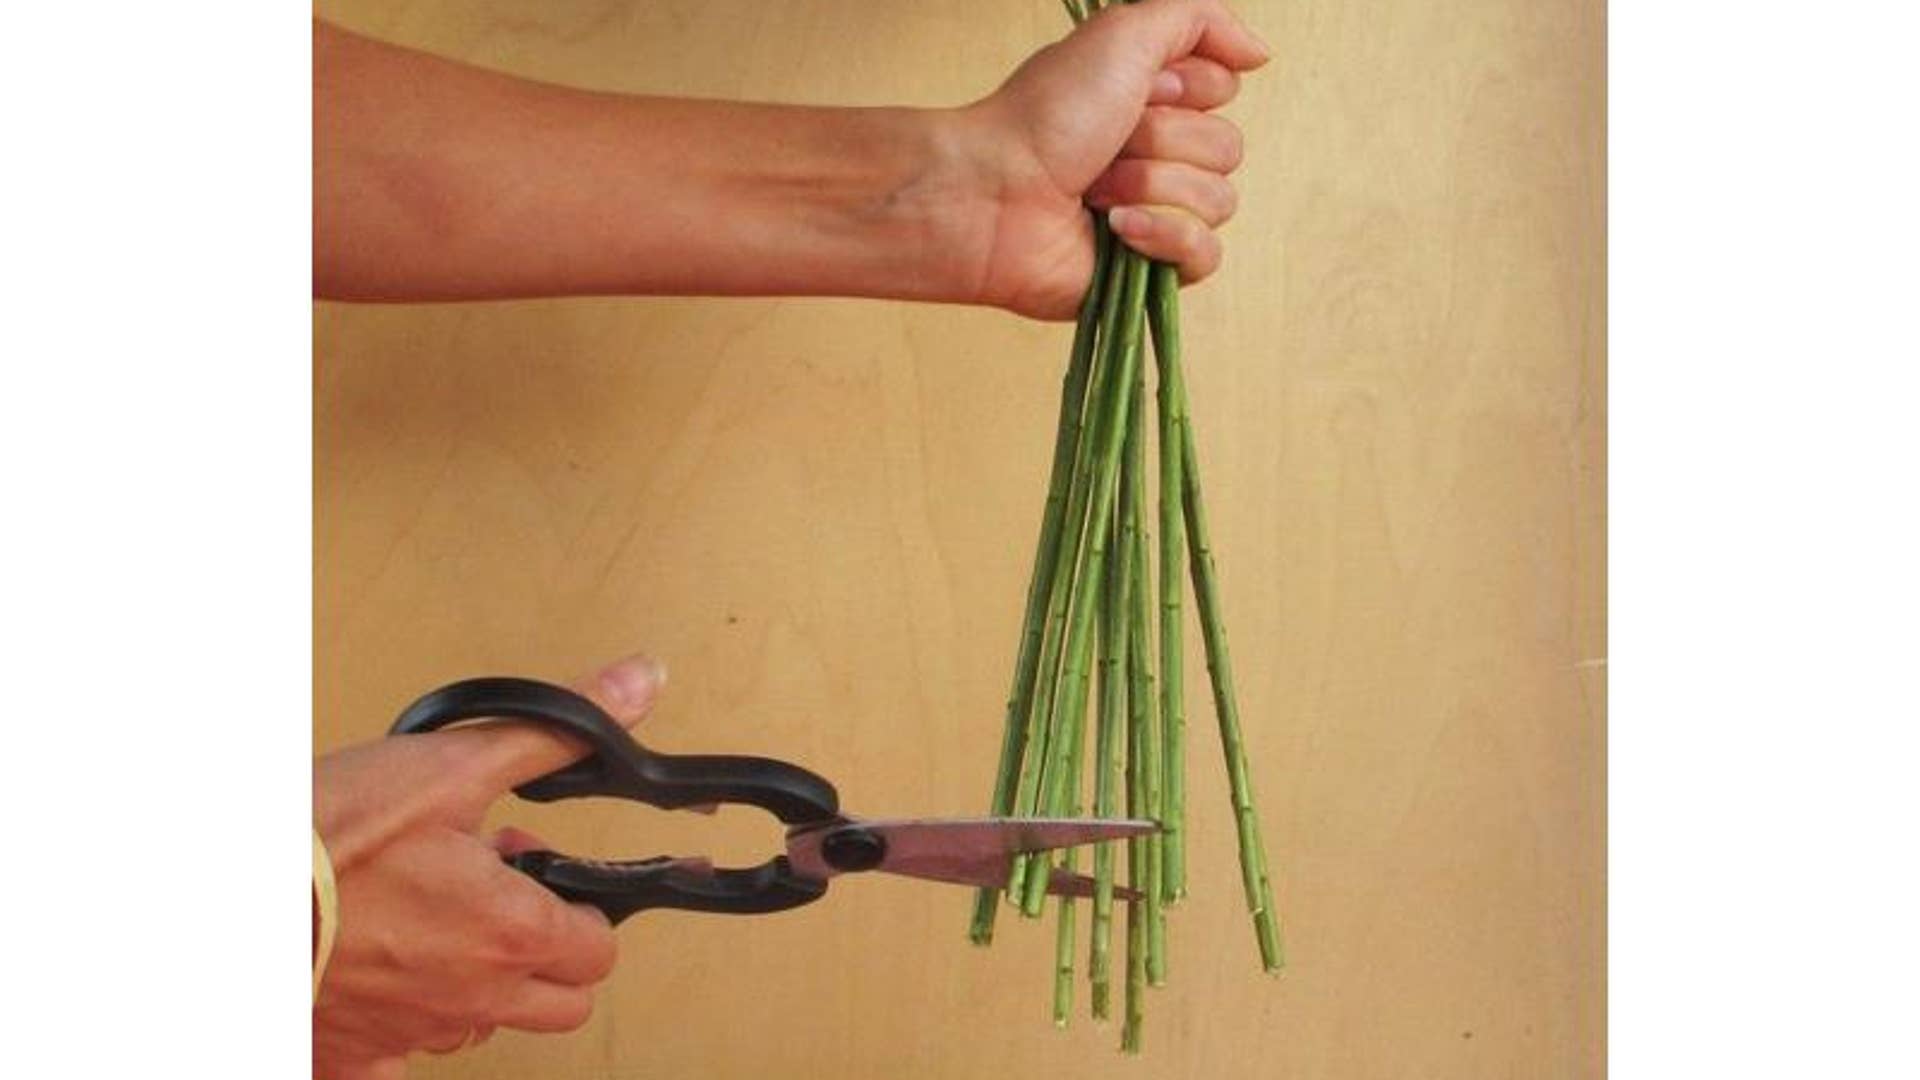
Here you see the cleaned-up stems, the leaves to discard, and the tiny bits that were too low on the stem for the main arrangement. Tip: Save the small bits for a separate mini-arrangement!![Step 11:]() When you've decided, make your final chop. Remember: if you've chosen a transparent vase, you'll want to be sure the stems go all the way to the bottom, so cut carefully. If you've chosen an opaque vase, hack away!
When you've decided, make your final chop. Remember: if you've chosen a transparent vase, you'll want to be sure the stems go all the way to the bottom, so cut carefully. If you've chosen an opaque vase, hack away!![Step 12:]() Once you're satisfied, put water in the vase and flowers in the water, and voilá! Fluff the blossoms and loosen the stems a bit if necessary, but otherwise, simply sit back and enjoy your handiwork. Oh, and change the water and trim the stems every other day. But mostly, enjoy!
Once you're satisfied, put water in the vase and flowers in the water, and voilá! Fluff the blossoms and loosen the stems a bit if necessary, but otherwise, simply sit back and enjoy your handiwork. Oh, and change the water and trim the stems every other day. But mostly, enjoy!![Step 3:]() Once the stems are denuded to your liking, it's time to reassemble the flowers into a new and improved shape. Place the first stem in your dominant hand, holding it loosely but confidently.
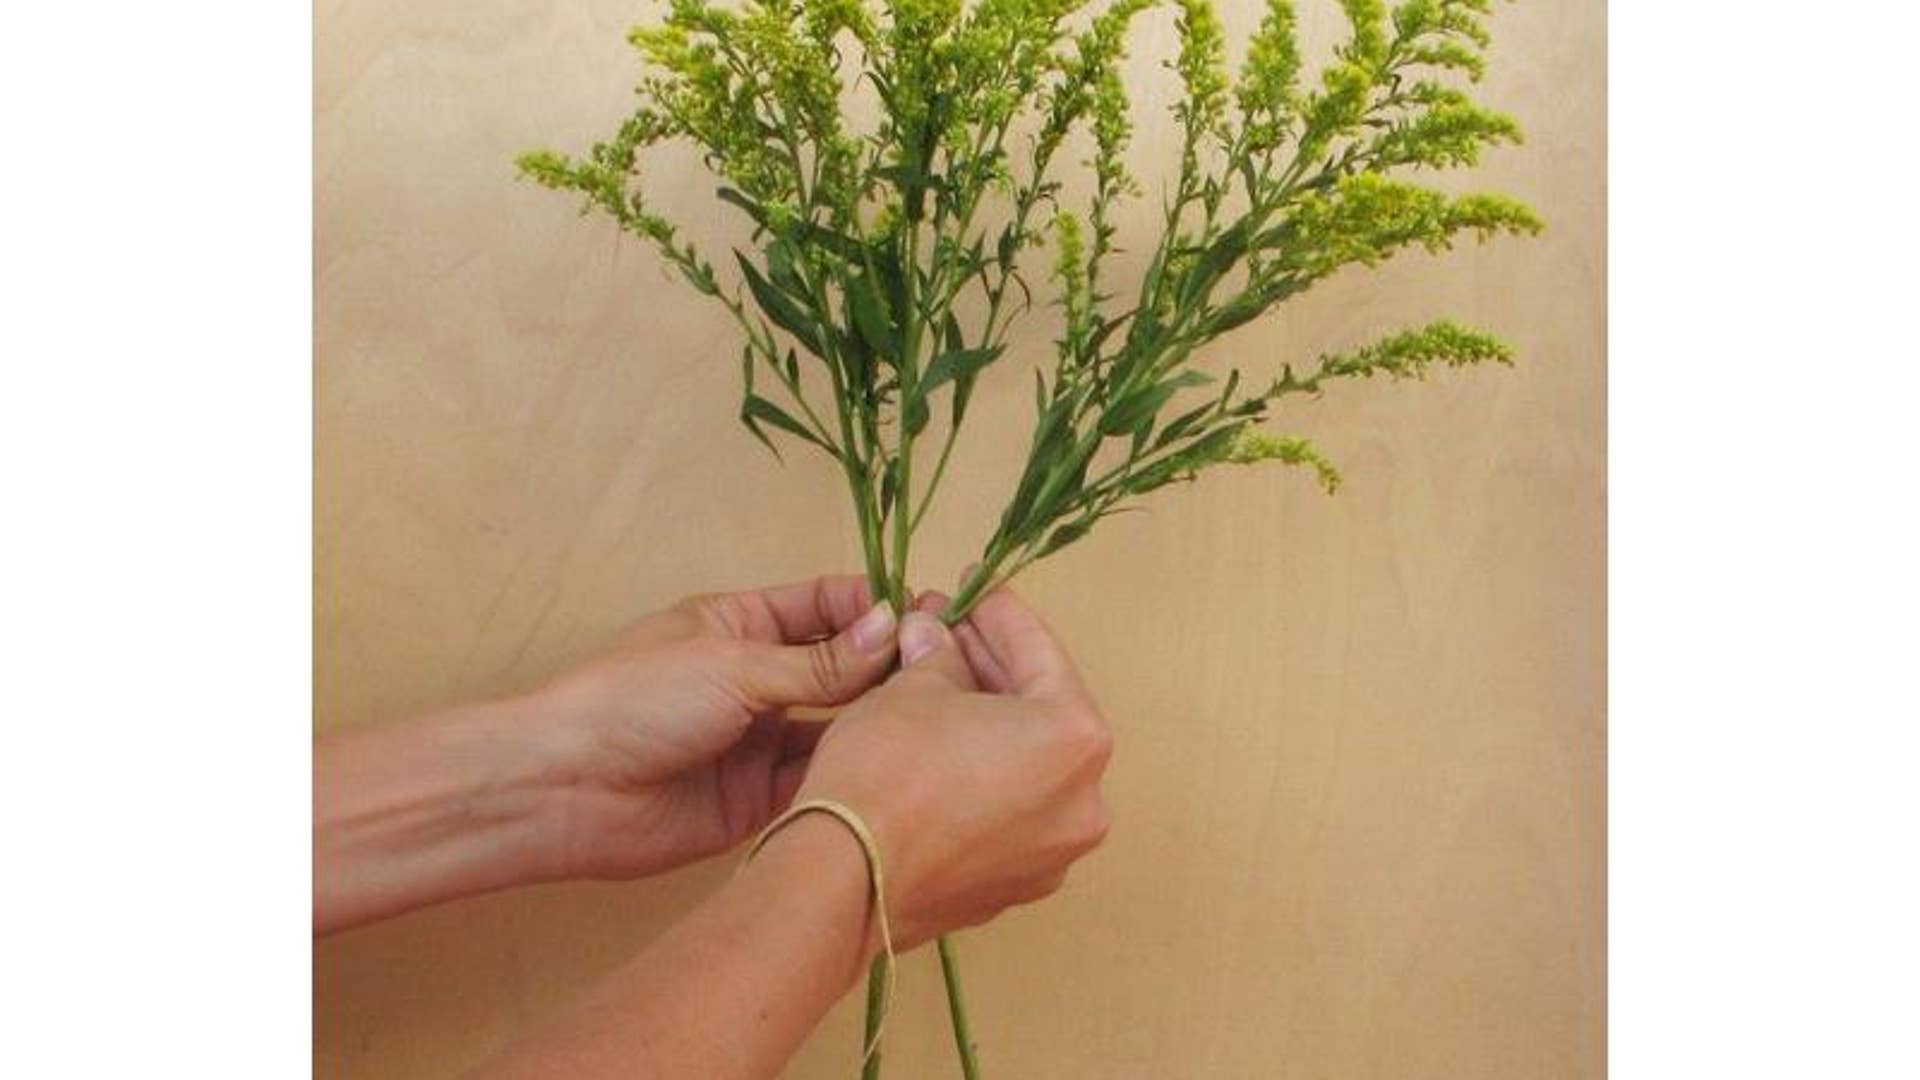
Once the stems are denuded to your liking, it's time to reassemble the flowers into a new and improved shape. Place the first stem in your dominant hand, holding it loosely but confidently.![Step 4:]() Place the second stem across the first at a slight angle ...
Place the second stem across the first at a slight angle ...![Step 5:]() ... then gently twist the two in towards yourself. If you are left-handed you'll twist them clockwise, and if you're right-handed, go counter-clockwise. I am left-handed, as you can see from these photos.
... then gently twist the two in towards yourself. If you are left-handed you'll twist them clockwise, and if you're right-handed, go counter-clockwise. I am left-handed, as you can see from these photos.![Step 6:]() Continue this way with all of the stems, placing ...
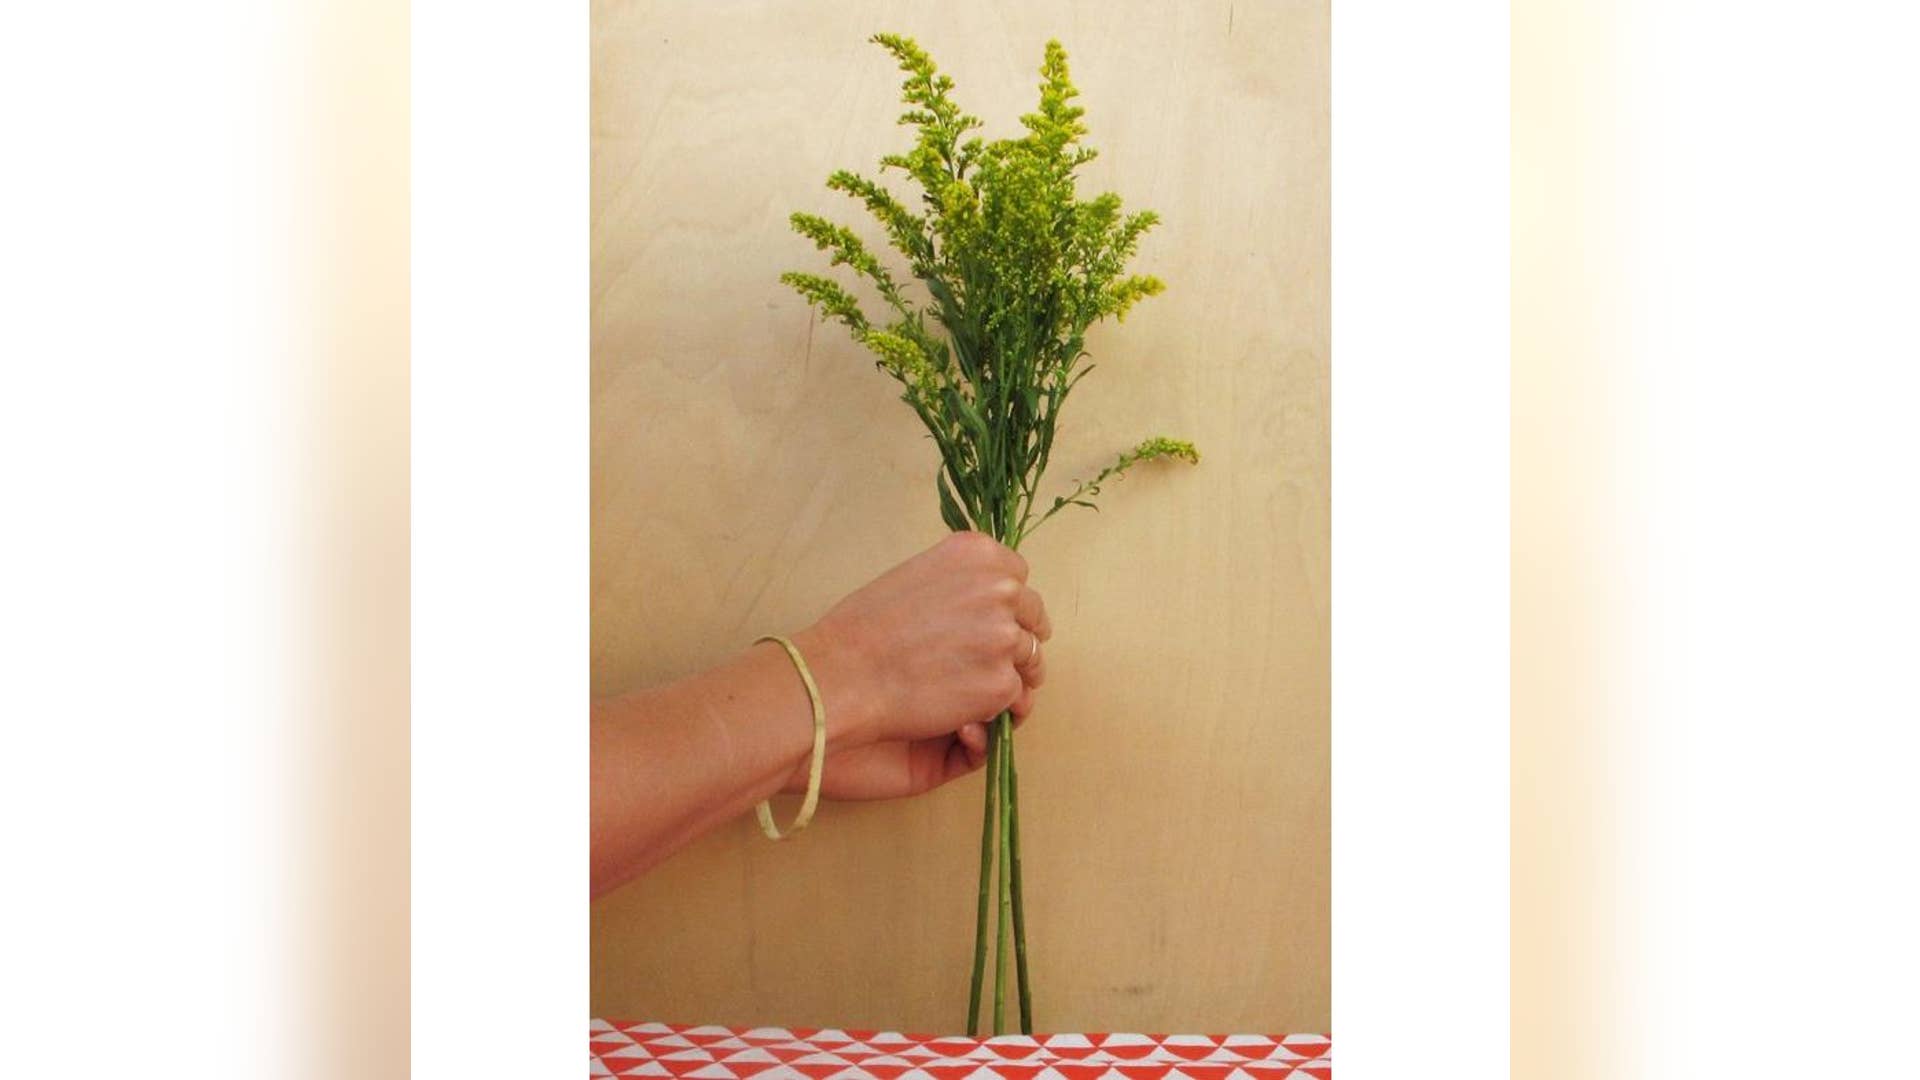
Continue this way with all of the stems, placing ...![Step 7:]() ... and twisting each one, keeping your holding-hand relaxed. You can either keep the blossoms all completely level or gradually place the stems lower and lower as you work your way out. This will create a more rounded arrangement.
... and twisting each one, keeping your holding-hand relaxed. You can either keep the blossoms all completely level or gradually place the stems lower and lower as you work your way out. This will create a more rounded arrangement.![Step 8:]() Once you've placed all of the flowers ...
Once you've placed all of the flowers ...![Step 9:]() ... trim the stems just to even them out. Proper florists shears are great, but I always use my sturdy kitchen scissors.
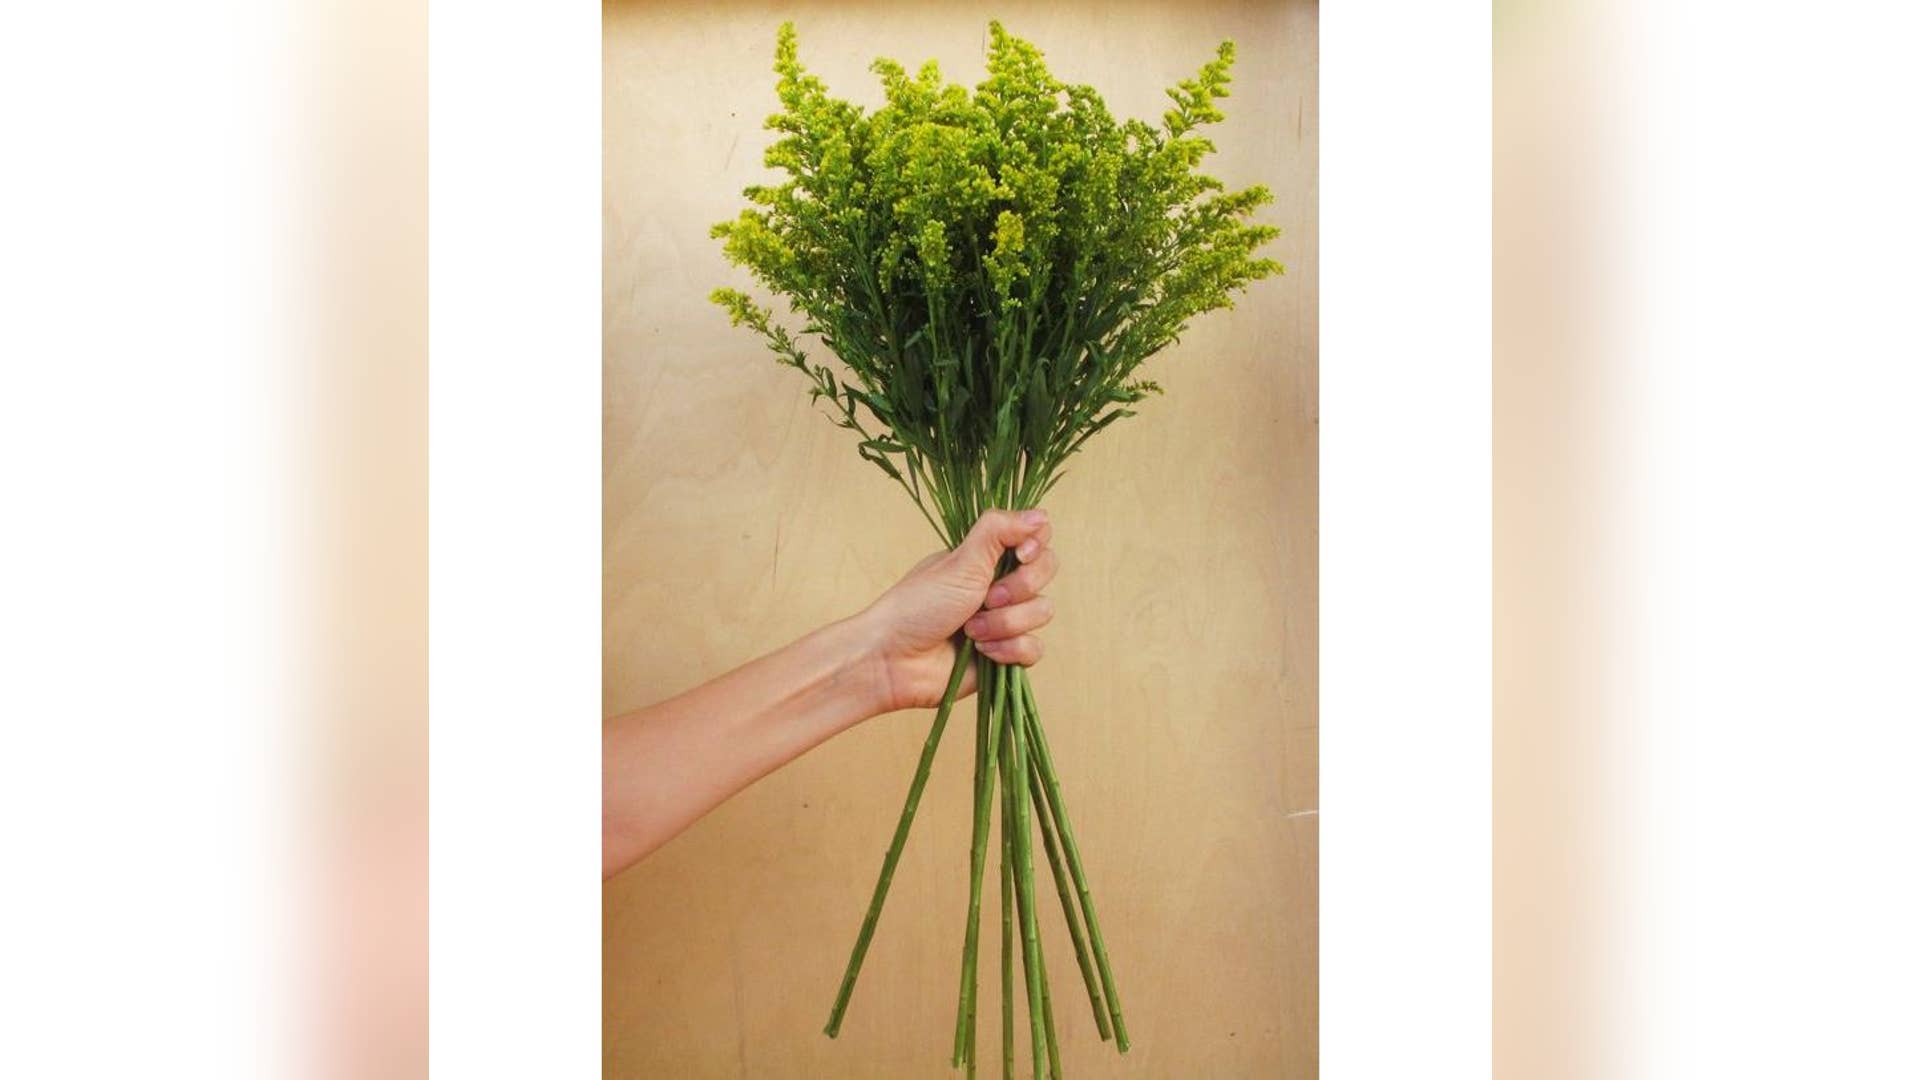
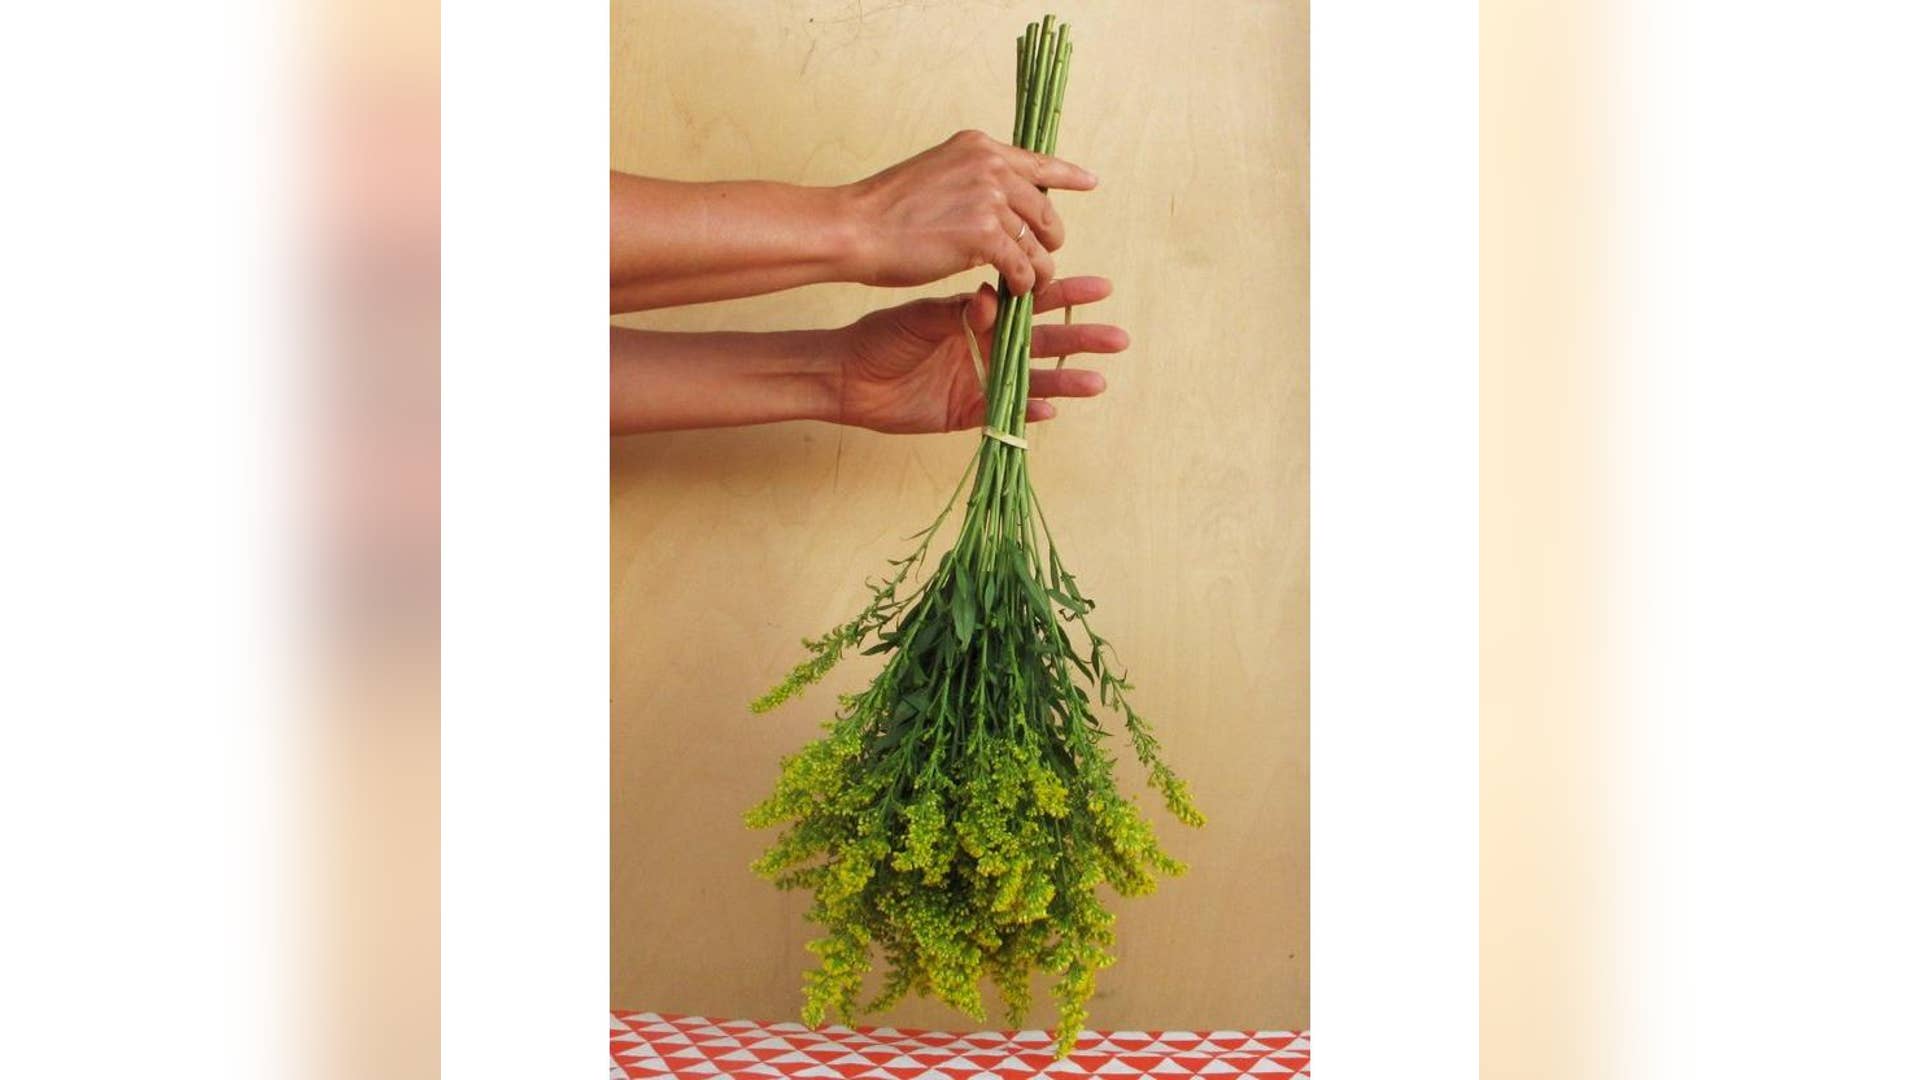
... trim the stems just to even them out. Proper florists shears are great, but I always use my sturdy kitchen scissors.![Step 10:]() Wrap a rubber band around the spot where you were holding the arrangement. Examine the arrangement and decide which vessel you'd like to place it in. Hold the flowers over a few if that helps you decide.
Wrap a rubber band around the spot where you were holding the arrangement. Examine the arrangement and decide which vessel you'd like to place it in. Hold the flowers over a few if that helps you decide.The Secret to Perfect Flower Arrangements Every Time
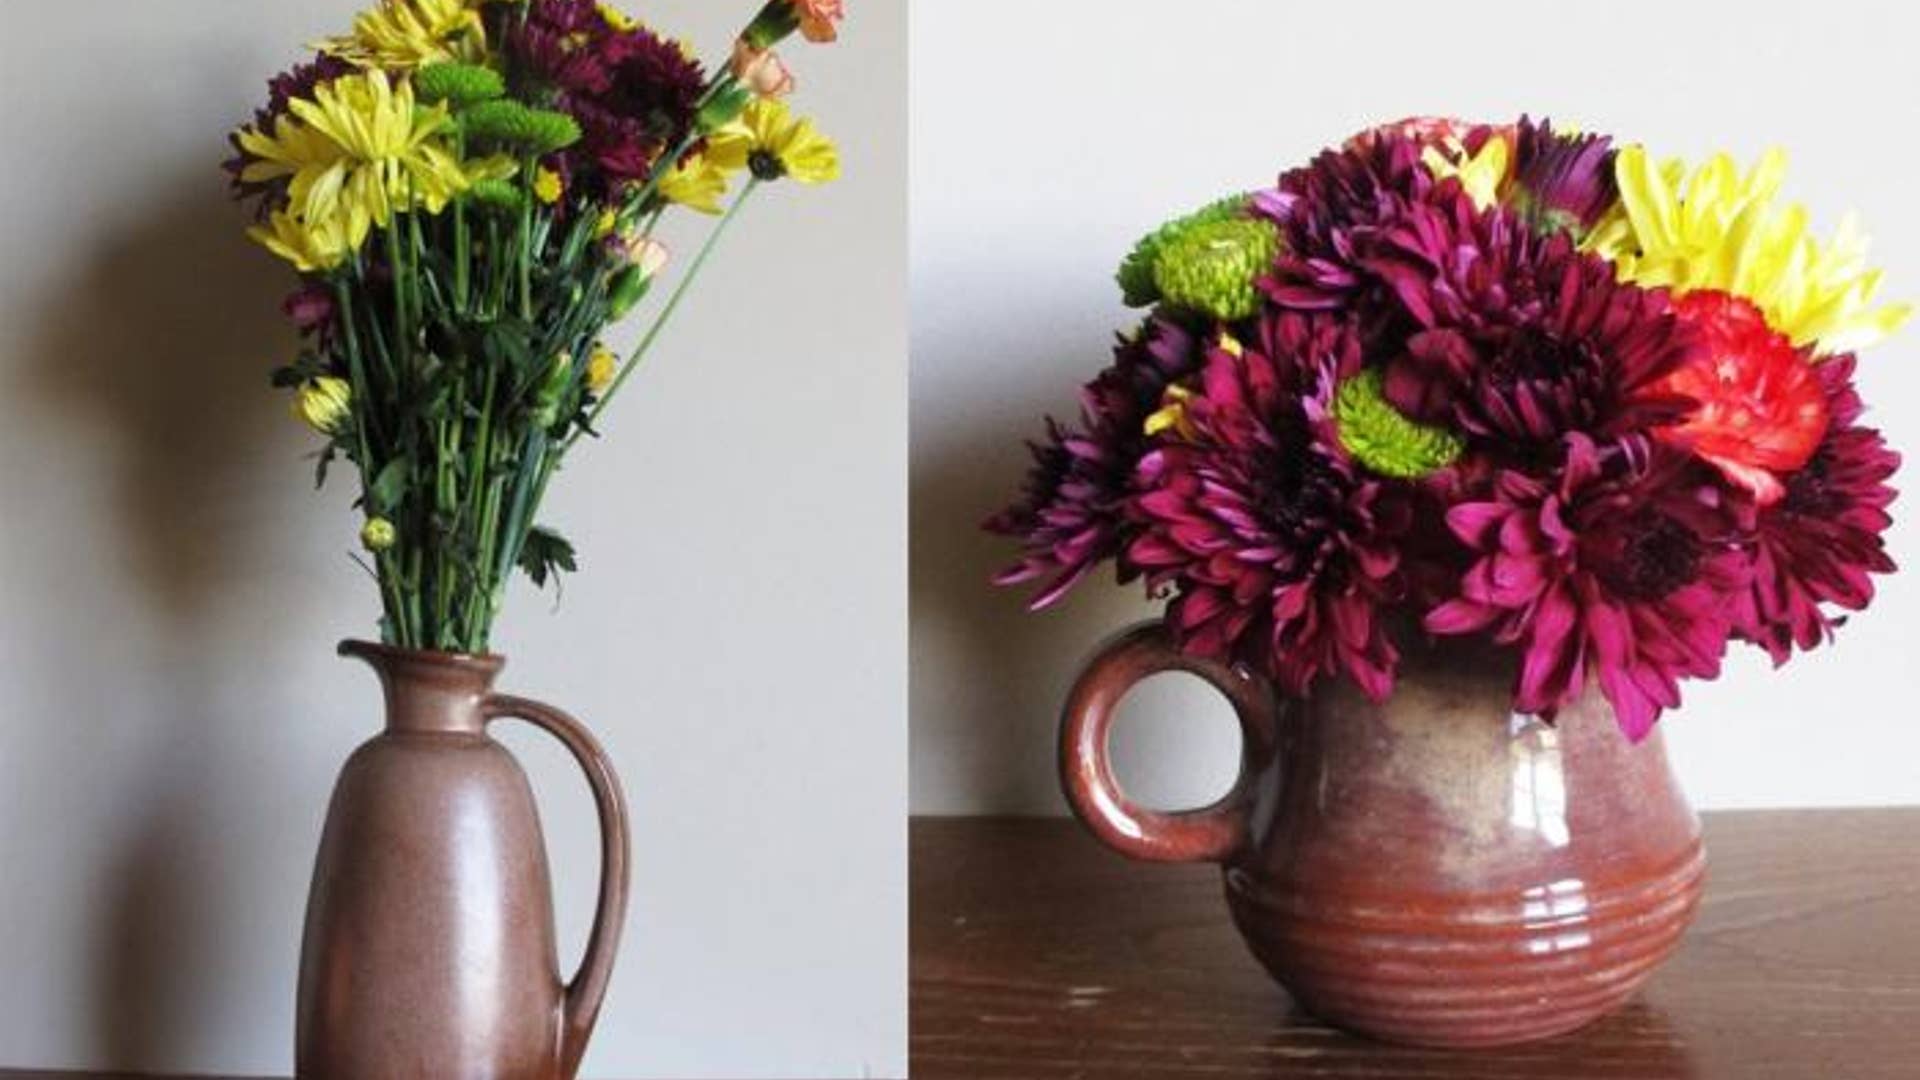
When I bought these inexpensive flowers from Wal-Mart, they were less than ideal. But a few minutes and zero dollars later, they are an adorable bouquet and a perfect little centerpiece — all thanks to a little thing called processing. READ: Easy Autumnal Centerpieces You Can Make Yourself Above: Looking at the vase on the left, you can see the crucial difference processing makes, before and after. Some people might imagine that flower shop employees spend their time building huge, breathtaking arrangements and skipping around the shop with flowers in their hair. And we do, sometimes, but we really spend most of our time processing. It's repetitive, some find it boring (I don't), it can dye your hands green, and it makes a world of difference. Once you're comfortable working with only one type of flower, you can confidently move on to more challenging combinations of blooms. Here's how to do it:


- The Secret to Perfect Flower Arrangements Every Time


