(iStock)
There is no reason why you should not be able to safely see the ground you are walking on when entering and exiting your house at night. Poor visibility is often simply the result of poor lighting. This can be caused by many things, and with a few minutes of your time and attention you can prevent a slip and fall claim against your homeowners insurance.
The first and easiest thing to do is to head out at night for a quick inspection. Turn on the suspect light and grab a flashlight. Search your porches and walkways for dark spots. You may not think of it but nothing more than shade could be the culprit of a dark spot. Overgrown tree branches or a newly installed trellis could be blocking the light and casting a shadow. Trimming the branches or moving the trellis to a new location could be the quick fix.
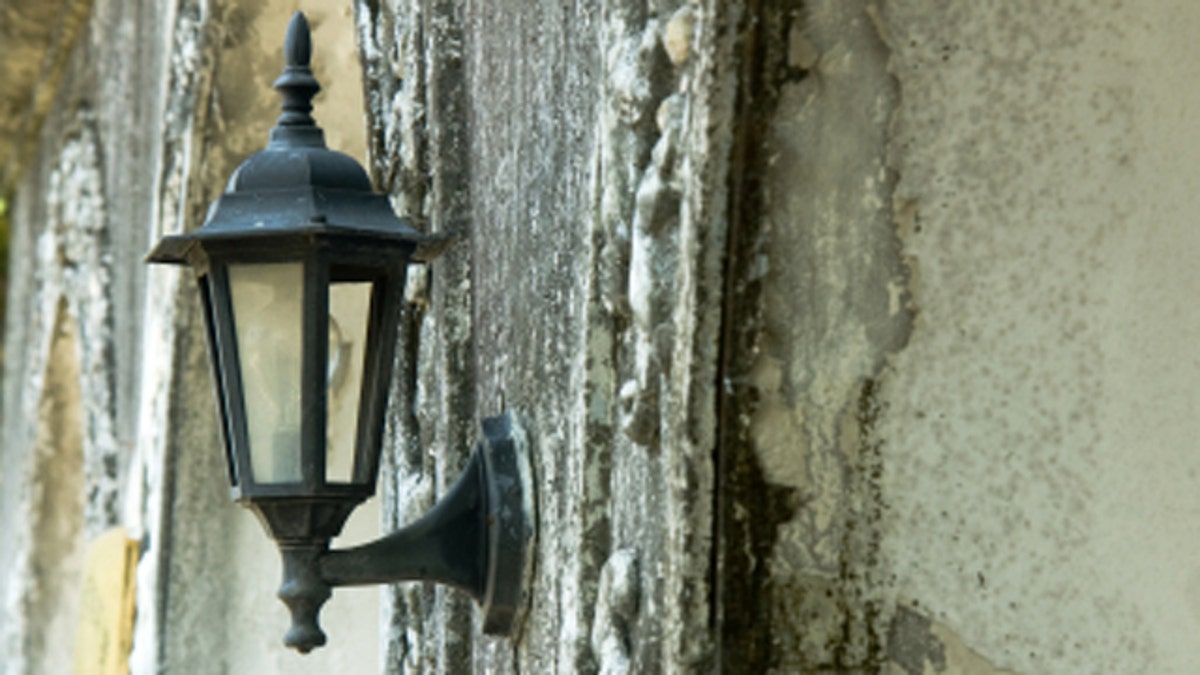
Poorly lit places can also be the result of having the wrong type of light fixture installed. Some areas require a flood light or spot light, while others are fine with a decorative lamp. Put the wrong type in the wrong area and you’re asking for blind spots.
Old, rusty and broken fixtures can also be the problem, but don’t worry. Replacing outdoor lights is an easy job which can be done by just about any do-it-yourselfer.
If you have an existing light, it is simple. If you need to add a light where one is not currently installed, I recommend hiring an electrician for the job. New lights require tapping into an electrical source, fishing a wire through a wall, cutting a hole in the wall for a junction box, stripping wire, and on and on. If you are extremely handy, understand local building codes, and are not worried about causing a house fire, then have at it. Otherwise, call a pro.
The first step in replacing an exterior light is choosing the right one for your application. You may want to use a motion detector to save energy instead of leaving the light on all the time. Or, you may find that an adjustable spot light is what you need so you can direct the light with pinpoint accuracy. Avoid making a rushed decision just because you find a light to be extremely pretty and on sale. Make sure it will light up the area you need to be illuminated.
With the perfect light in hand, here’s a look at how to put it in.
Begin by turning off the power. Not just the light switch, but the power at the circuit breaker box. You definitely don’t want this to be a shocking experience.
Remove the existing fixture. To do this, you may have to use a utility knife to score any existing caulking around the light. Don’t just pull on it, you can tear off a piece of the siding or ruin the paint.
The lamp is usually attached in one of two ways. Small screws could be holding it to the junction box inside the wall, or there is a center nut which could be inside the light itself, often hidden behind the bulb.
Sometimes you will find a spacer plate between the light and the house which is there to give the light a flat surface to mount to. You can use the same plate or purchase a new one depending on its condition.
Once the light is free it will still be attached by the wires. Before you undo the wires notice how the black ones are twisted together and the white wires are twisted together. You will also see a copper or green wire. This is the grounding wire and is extremely important. You will be connecting the new light to them in exactly the same way.
Loosen the wires and discard the old light. Open up your new light and locate the mounting hardware. The fixture bracket looks like a flat metal U-shaped piece of metal. This will be attached to the junction box inside the wall. You may already have one there from the old light. If so, take the old one out and use the new one. The screws or nut that will hold the fixture to this plate may be a different size than the old ones and you don’t want to find this out after you’ve wired the light and try to hang it.
Many exterior lights come with a gasket which goes in between the fixture and the junction box. You’ll have to run the wires through this gasket before attaching them. I’ve forgotten to do this more times than I’d like to admit, and find that I have to back track and undo wires to include the gasket.
Wire up the new light putting black to back, white to white, grounding to grounding. There is no soldering or any special technique for doing this other than making sure that the wire’s sheathing has been stripped back exposing the copper wire inside. The two like-color wires are held side by side, and the exposed copper ends are pushed into a wire nut and then they are twisted together. Follow the manufacturer’s directions that came with the light.
Tuck the wires back into the junction box inside the wall and attach the light to the fixture bracket. Throw in a bulb, turn the power back on and flip the switch.
See the light?
If everything went as planned and your light is working properly there is one more important step. Caulk around the fixture to prevent moisture from getting in, but leave the bottom uncaulked. This way, if any moisture does manage to seep in, it will have a place to drain.
Even though exterior lights are often considered the jewelry of the home’s exterior, it’s more important that they do their job than look pretty from the street.