Move Back
![1]()
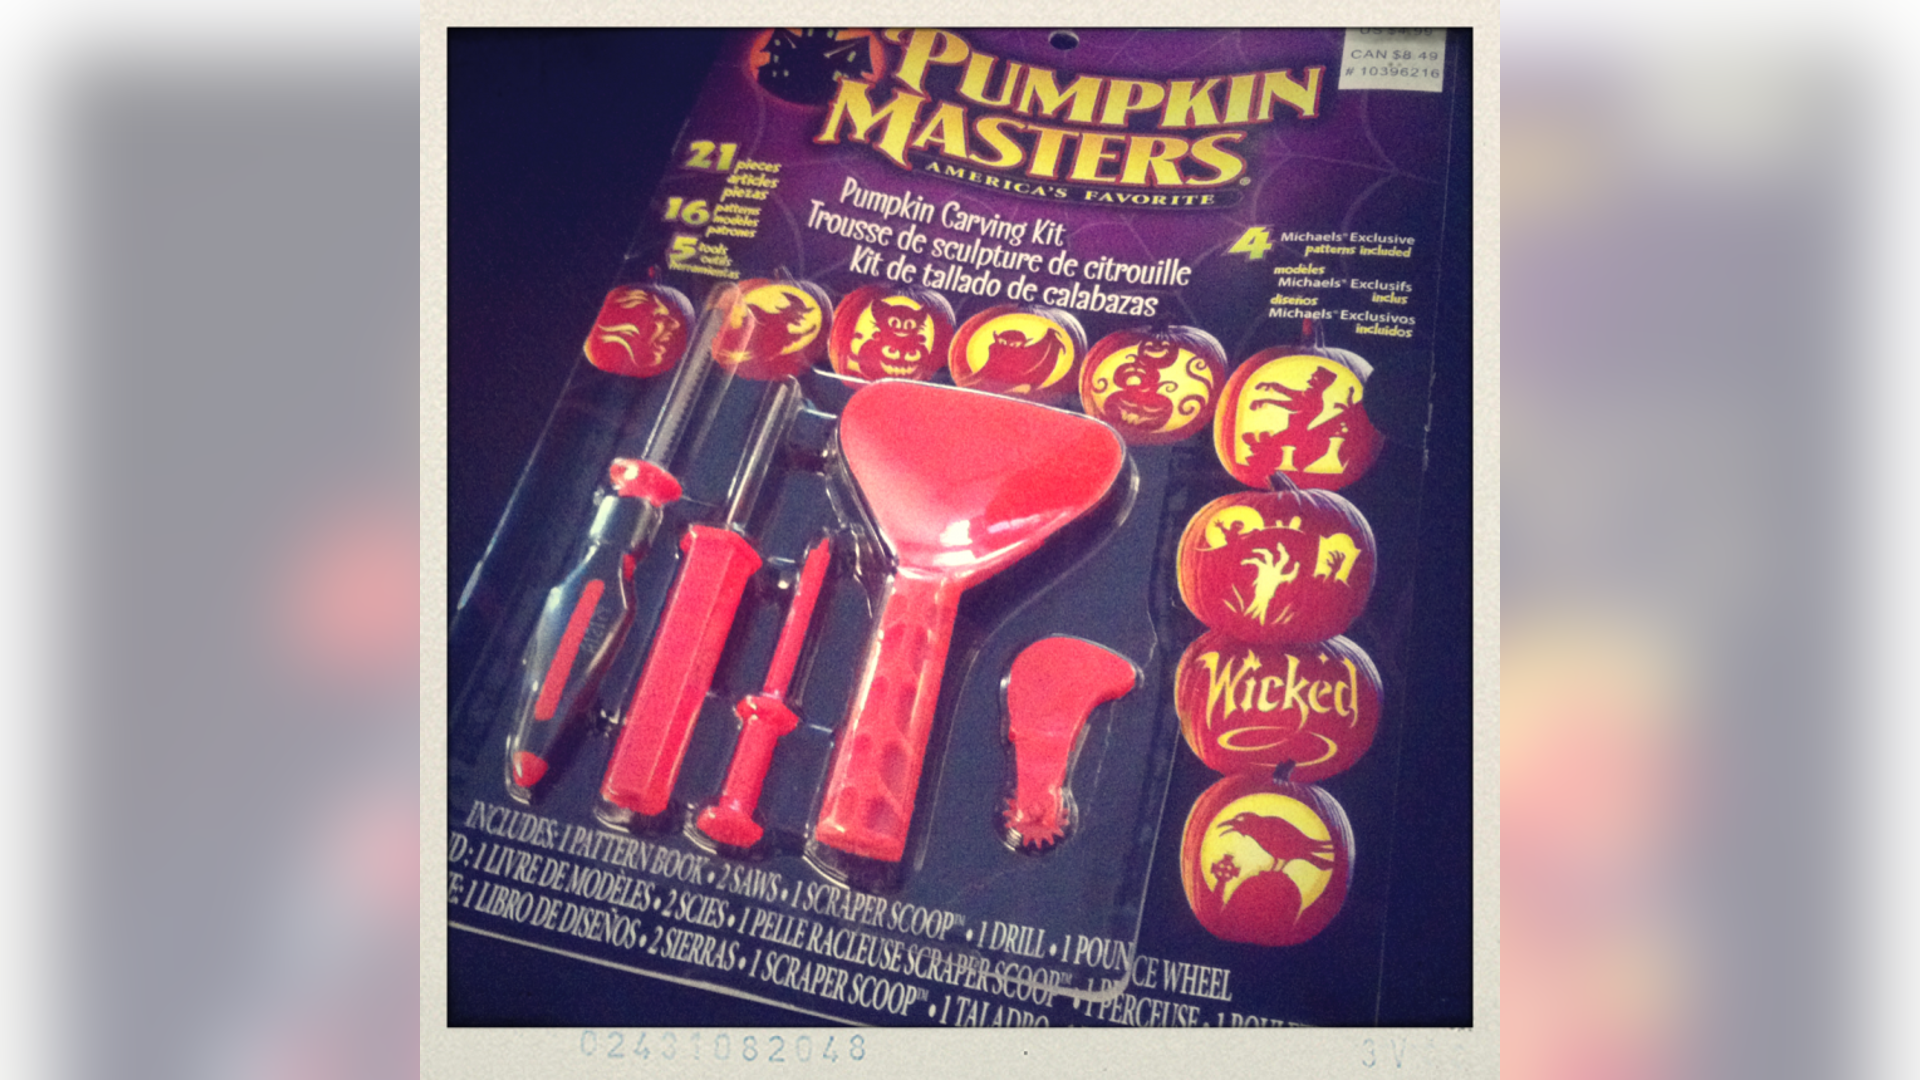
![Tools Of the Trade]() I purchased a pumpkin carving kit, including a 4-in-1 carving tool and a mini power saw from my local craft store. Once I found the perfect pumpkin, I was ready go.
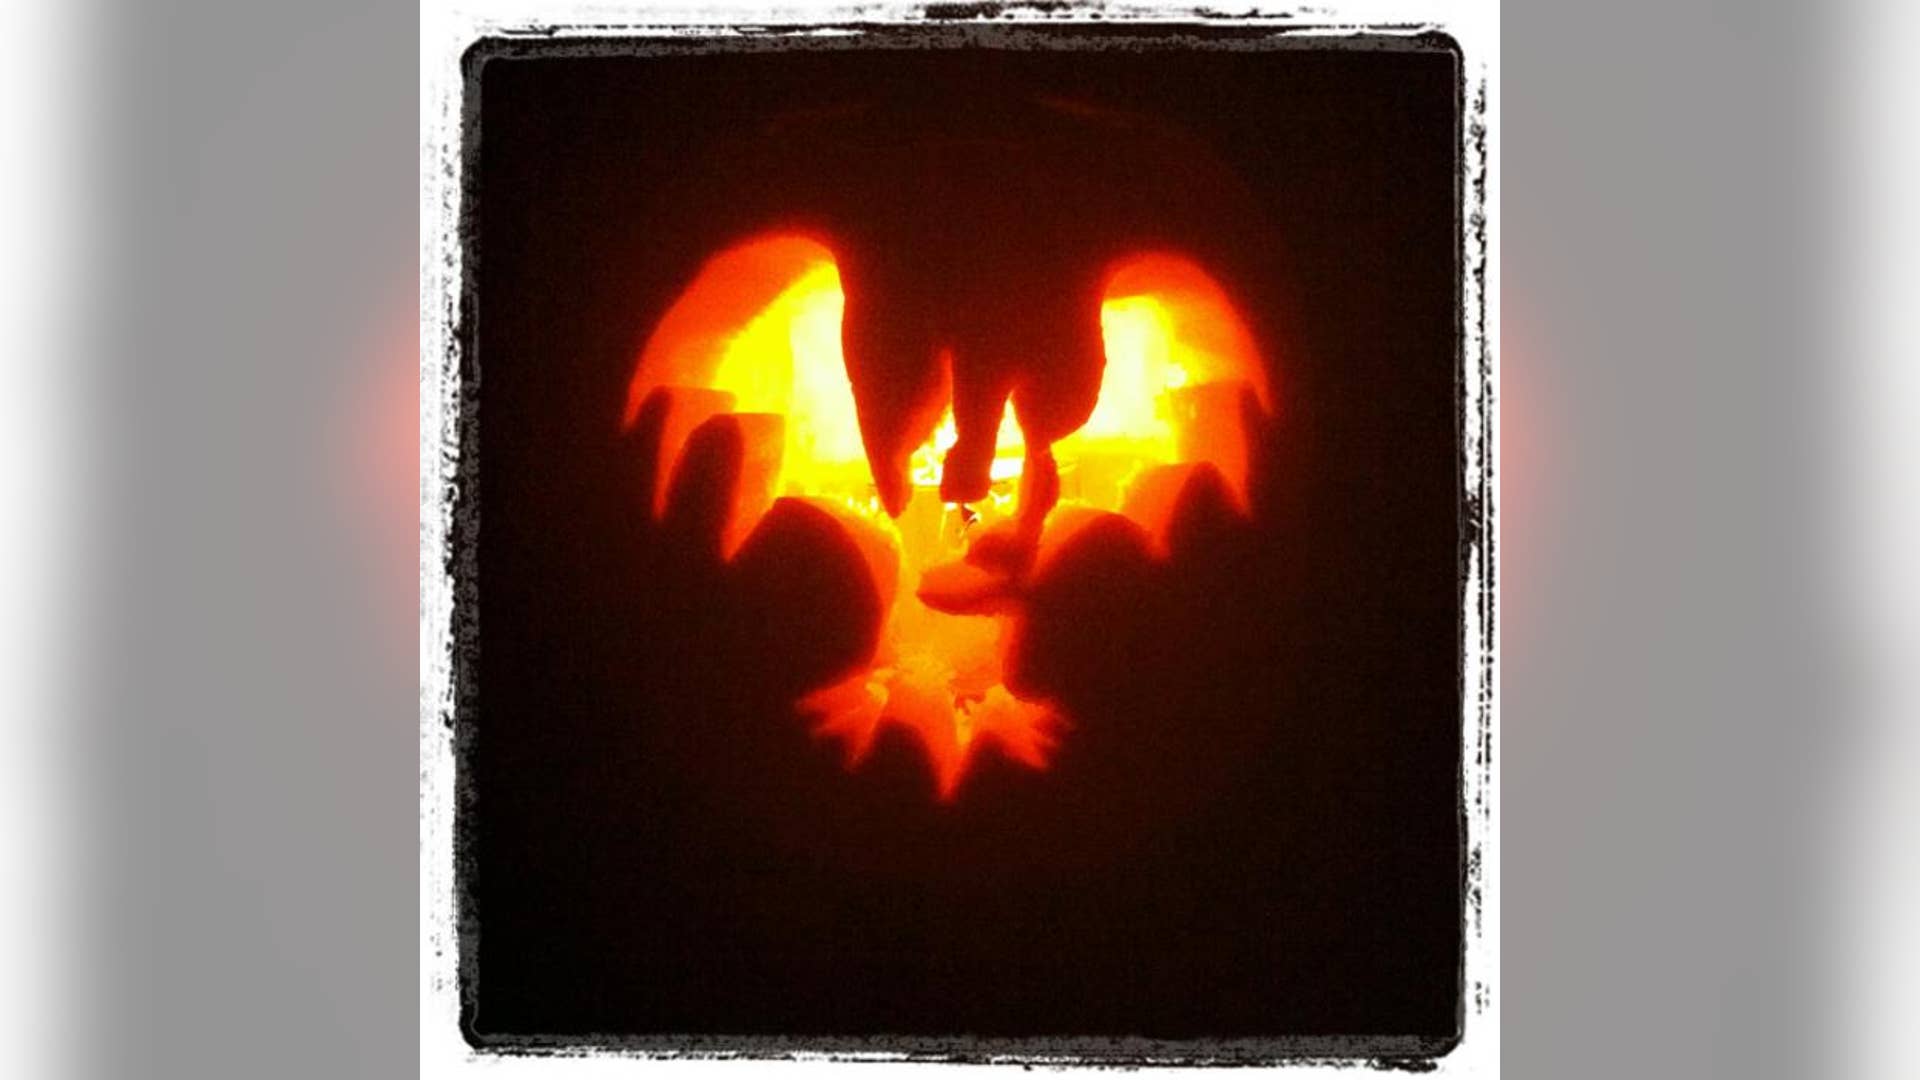
I purchased a pumpkin carving kit, including a 4-in-1 carving tool and a mini power saw from my local craft store. Once I found the perfect pumpkin, I was ready go.![First Attempt]() I like to follow my own rules when it comes to crafting. Then again, it’s been years since I’ve carved a pumpkin, so this was probably not the best time to experiment — especially while working with knives and saws. Mistake 1:After hollowing out the pumpkin, I looked at the tools and wasn’t sure where to begin. The carving kit came with instructions, and even some designs, but of course I had a grander plan in mind. Mistake 2: Referring a photo of the jack-o-lantern I wanted to recreate, I did my best to outline the design using a dry-erase marker. Mistake 3: When I was ready to carve, it was then that I realized I needed a special tool called a Speedball to shave the skin off the pumpkin. This was not included in the kit. Had I read the instructions, I would have known that. End Result: The 4-in-1 carving tool included a sculpting head which sort of made up for the Speedball. With much elbow grease, I was able to carve the skin off the desired areas. However, the green dry-erase marker I used to outline my design bled into the meat of the pumpkin. Also, when I placed a candle inside the pumpkin, I realized I did not carve deep enough to illuminate it.
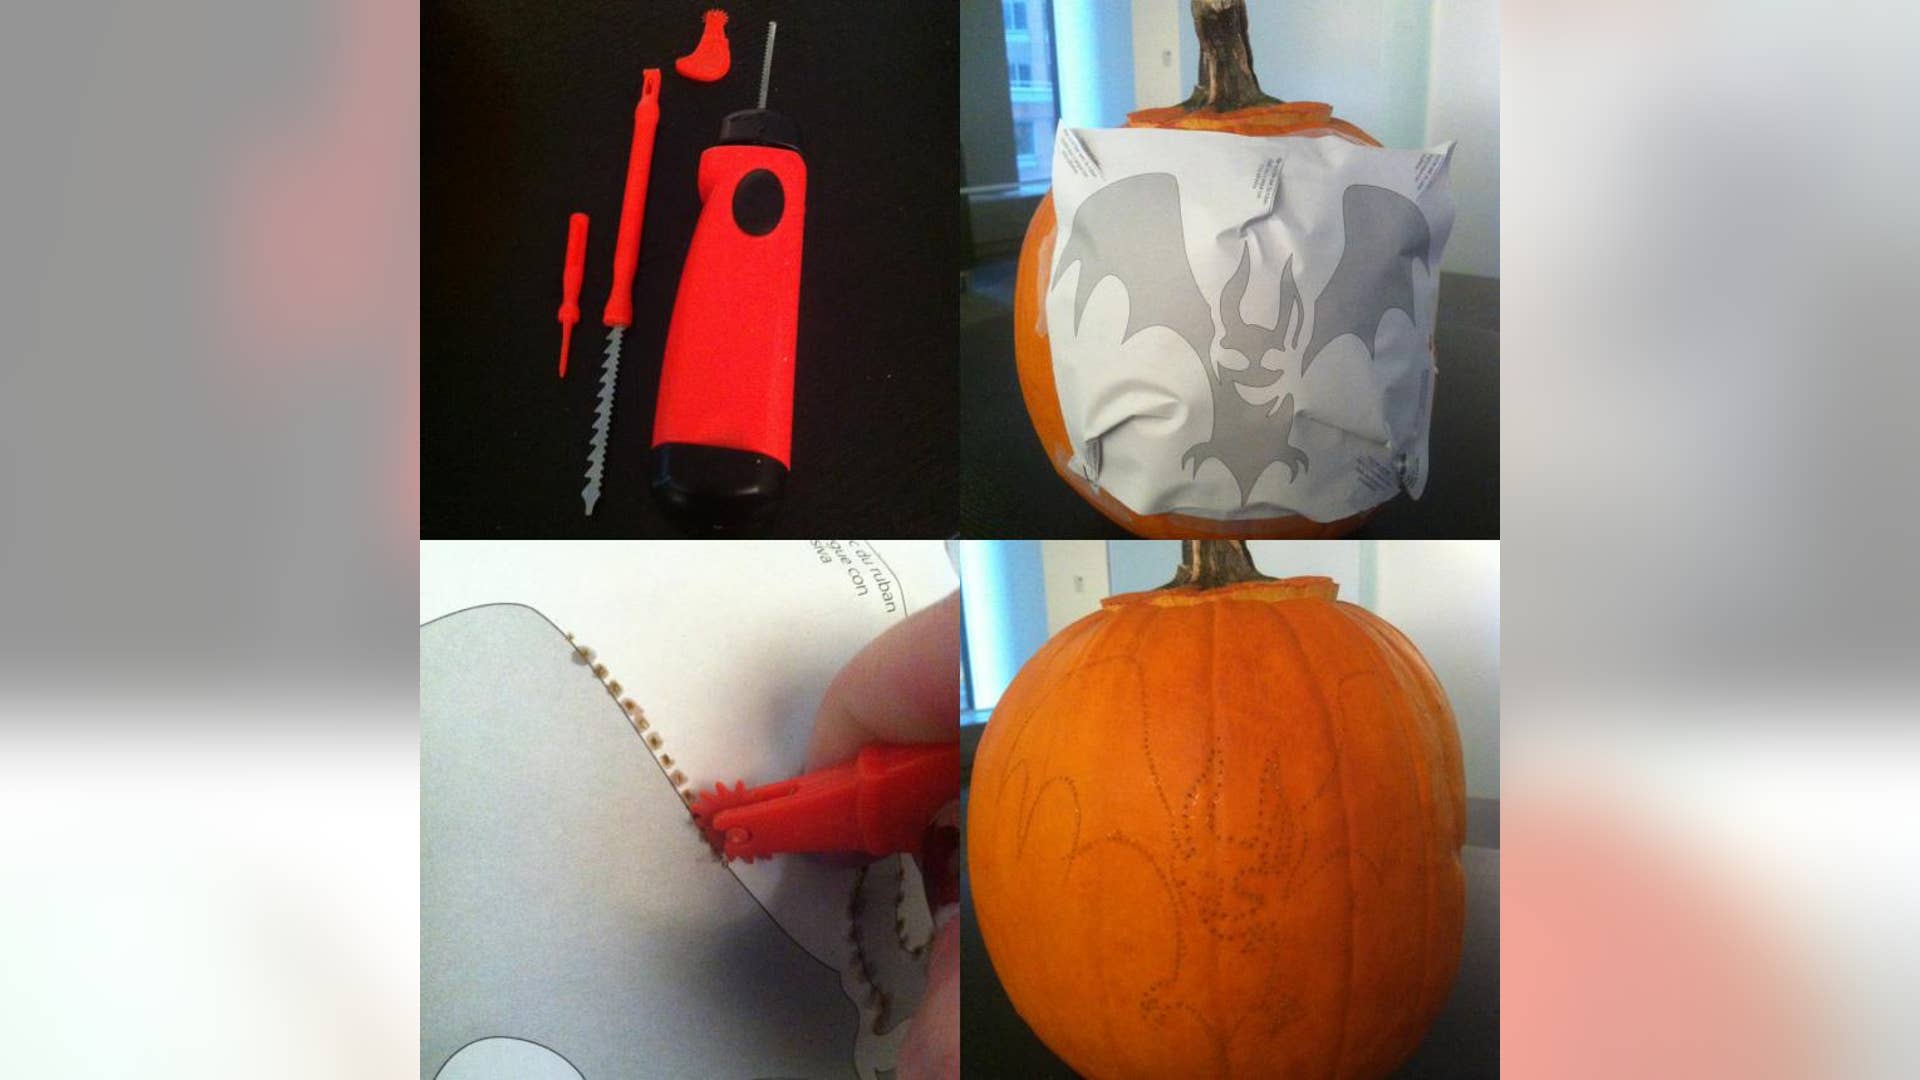
I like to follow my own rules when it comes to crafting. Then again, it’s been years since I’ve carved a pumpkin, so this was probably not the best time to experiment — especially while working with knives and saws. Mistake 1:After hollowing out the pumpkin, I looked at the tools and wasn’t sure where to begin. The carving kit came with instructions, and even some designs, but of course I had a grander plan in mind. Mistake 2: Referring a photo of the jack-o-lantern I wanted to recreate, I did my best to outline the design using a dry-erase marker. Mistake 3: When I was ready to carve, it was then that I realized I needed a special tool called a Speedball to shave the skin off the pumpkin. This was not included in the kit. Had I read the instructions, I would have known that. End Result: The 4-in-1 carving tool included a sculpting head which sort of made up for the Speedball. With much elbow grease, I was able to carve the skin off the desired areas. However, the green dry-erase marker I used to outline my design bled into the meat of the pumpkin. Also, when I placed a candle inside the pumpkin, I realized I did not carve deep enough to illuminate it.![Second Attempt]() Learning from my mistakes, I decided create another carving on the other side of the pumpkin — this time reading the instructions and using one of the designs that came with the kit. After choosing a design from the book, I tore it out and pasted it to the pumpkin as directed. Using the rotary cutter included in the kit, I traced over the design, which transferred it to the surface of the pumpkin. For more detailed angles, I used the poker tool. When I was done tracing, I removed the paper and was ready to carve. This process couldn’t have gone more smoothly. Carving the pumpkin with a knife was easy enough, but I almost forgot about the power saw. While I wouldn’t recommend letting a child use this tool, it cut my carving time in half. After a half hour, I was very pleased with my Bat-O-Lantern.
Learning from my mistakes, I decided create another carving on the other side of the pumpkin — this time reading the instructions and using one of the designs that came with the kit. After choosing a design from the book, I tore it out and pasted it to the pumpkin as directed. Using the rotary cutter included in the kit, I traced over the design, which transferred it to the surface of the pumpkin. For more detailed angles, I used the poker tool. When I was done tracing, I removed the paper and was ready to carve. This process couldn’t have gone more smoothly. Carving the pumpkin with a knife was easy enough, but I almost forgot about the power saw. While I wouldn’t recommend letting a child use this tool, it cut my carving time in half. After a half hour, I was very pleased with my Bat-O-Lantern.We Tried It: Halloween Pumpkin Carving Kit
Seeing so many amazing and over-the-top jack-o-lanterns floating around the internet, I was inspired to take my own pumpkin carving skills to the next level. I spotted a rendition of Edvard Munch’s famous painting, "The Scream," carved into a pumpkin and I wanted to replicate it. I consider myself a decent artist and was convinced I’d be able to tackle an advanced project like this. Using a simple carving kit, I decided to give it a try.

Move Forward
- We Tried It: Halloween Pumpkin Carving Kit


