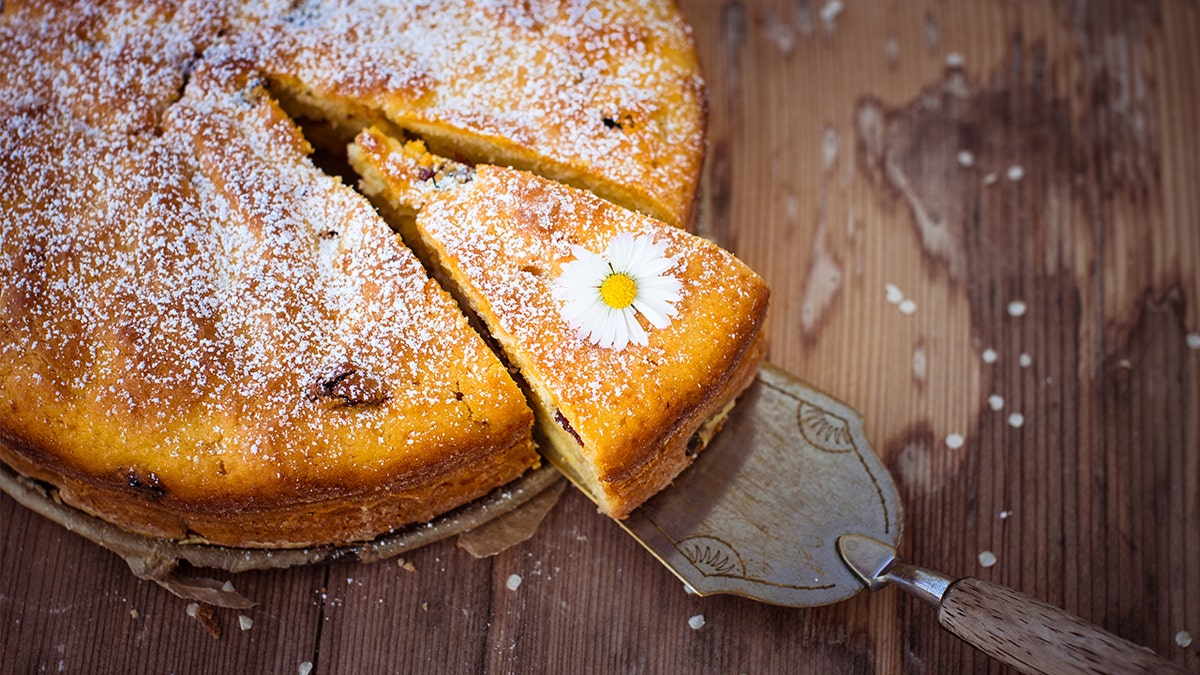
Turns out, you can even bake a cake on the grill. (iStock)
It would be great to wrap up a backyard cookout by grilling a gorgeous cake. Mind you, I’m not talking about grilling a cake that’s already baked, as in this Grilled Angel Food Cake recipe. I’m talking about baking on the grill. I thought it was worth a shot—so I did some experimenting over the weekend and I made a beautiful yellow cake with buttercream frosting.
Here’s the steps I followed—plus some of my insights to help you grill the perfect dessert!
How to Bake a Cake on the Grill
Baking on the grill isn’t as strange as it might sound. When you close the lid on your backyard grill, it’s pretty close to being an oven, particularly if you’re using a grill that has a temperature gauge. For anyone using a charcoal grill, you won’t be able to control the temperature quite as precisely, but I’ll talk about that later (and in the meantime, here’s a primer on how to use a charcoal grill). I did my baking on a gas grill, so keep that in mind.
You’ll want to use a sturdy metal pan. Skip using glass or ceramic because they might shatter if the heat gets up too high (which shouldn’t happen, but it’s best to err on the side of caution). For my layer cake, I used two nine-inch round metal pans. Nothing fancy. Just regular round metal pans.
Grill marks look great on a burger or steak. Not so much on a cake. So when baking on the grill, indirect heat is your friend. Heat your grill to the temperature specified in whatever recipe you’re using; then turn off one or more of the burners, and adjust the heat on the remaining burners to maintain a steady temperature.
My gas grill has only two burners. I heated the grill to 325° F, as my recipe required, then I turned off one of the burners and adjusted the other to maintain 325°. If you’re accustomed to tinkering with the temp on your grill, then this should be a no-brainer.
After you’ve mixed up your batter (here’s the recipe I used), you’ll want to place your pan(s) over the unlit burners. And if that’s all you did, it would be enough to bake a cake as good as your oven could. But what I found is that placing another pan beneath the cake pan(s) leads to an airier and more tender cake.
For my two layers, I set one pan on a cast iron skillet before placing it on the grill.
Set a timer for the baking time called for by the recipe, which should be 40 minutes or so. But be prepared to keep an eye on the grill to make sure the temperature remains stable. (You’ll want to adjust as necessary.) To keep an eye on the grill, I checked the temperature every seven minutes or so.
The first time you bake a cake on the grill, you’ll probably be tempted to lift the grill lid (once or twice or more) to check on the progress. But try not to peek too often. Ten minutes before the baking time is up, open the lid and check the cake’s doneness.
The recipe I used said my cakes would be done when they sprang back after being touched lightly. The layer that was on the lower grate sprang back at precisely 25 minutes (as the recipe predicted). The other layer took an extra two minutes. Be aware that where you place your cake may vary your baking time.
All the same ideas apply when you’re using a charcoal grill, except you’ll do one very special thing that you can’t do with a gas grill: nestle a foil baking pan half-filled with water into the charcoal, and bake your cake directly over the pan of water. This method works amazingly for upside down cakes such as this Skillet Pineapple Upside Down Cake, because it keeps the fruit perfectly moist as it caramelizes, while infusing the whole cake with a wonderful, subtle smokiness.
Seriously, it’s all that easy. Brush up on how to avoid our 10 most common cake mistakes—and you’re ready to grill.
